Skip to content

First workspace and task

You need a local Git repository with at least one commit, and one harness: OpenCode, Codex, or Claude Code. The setup wizard calls harnesses coding agents.

Run the setup wizard
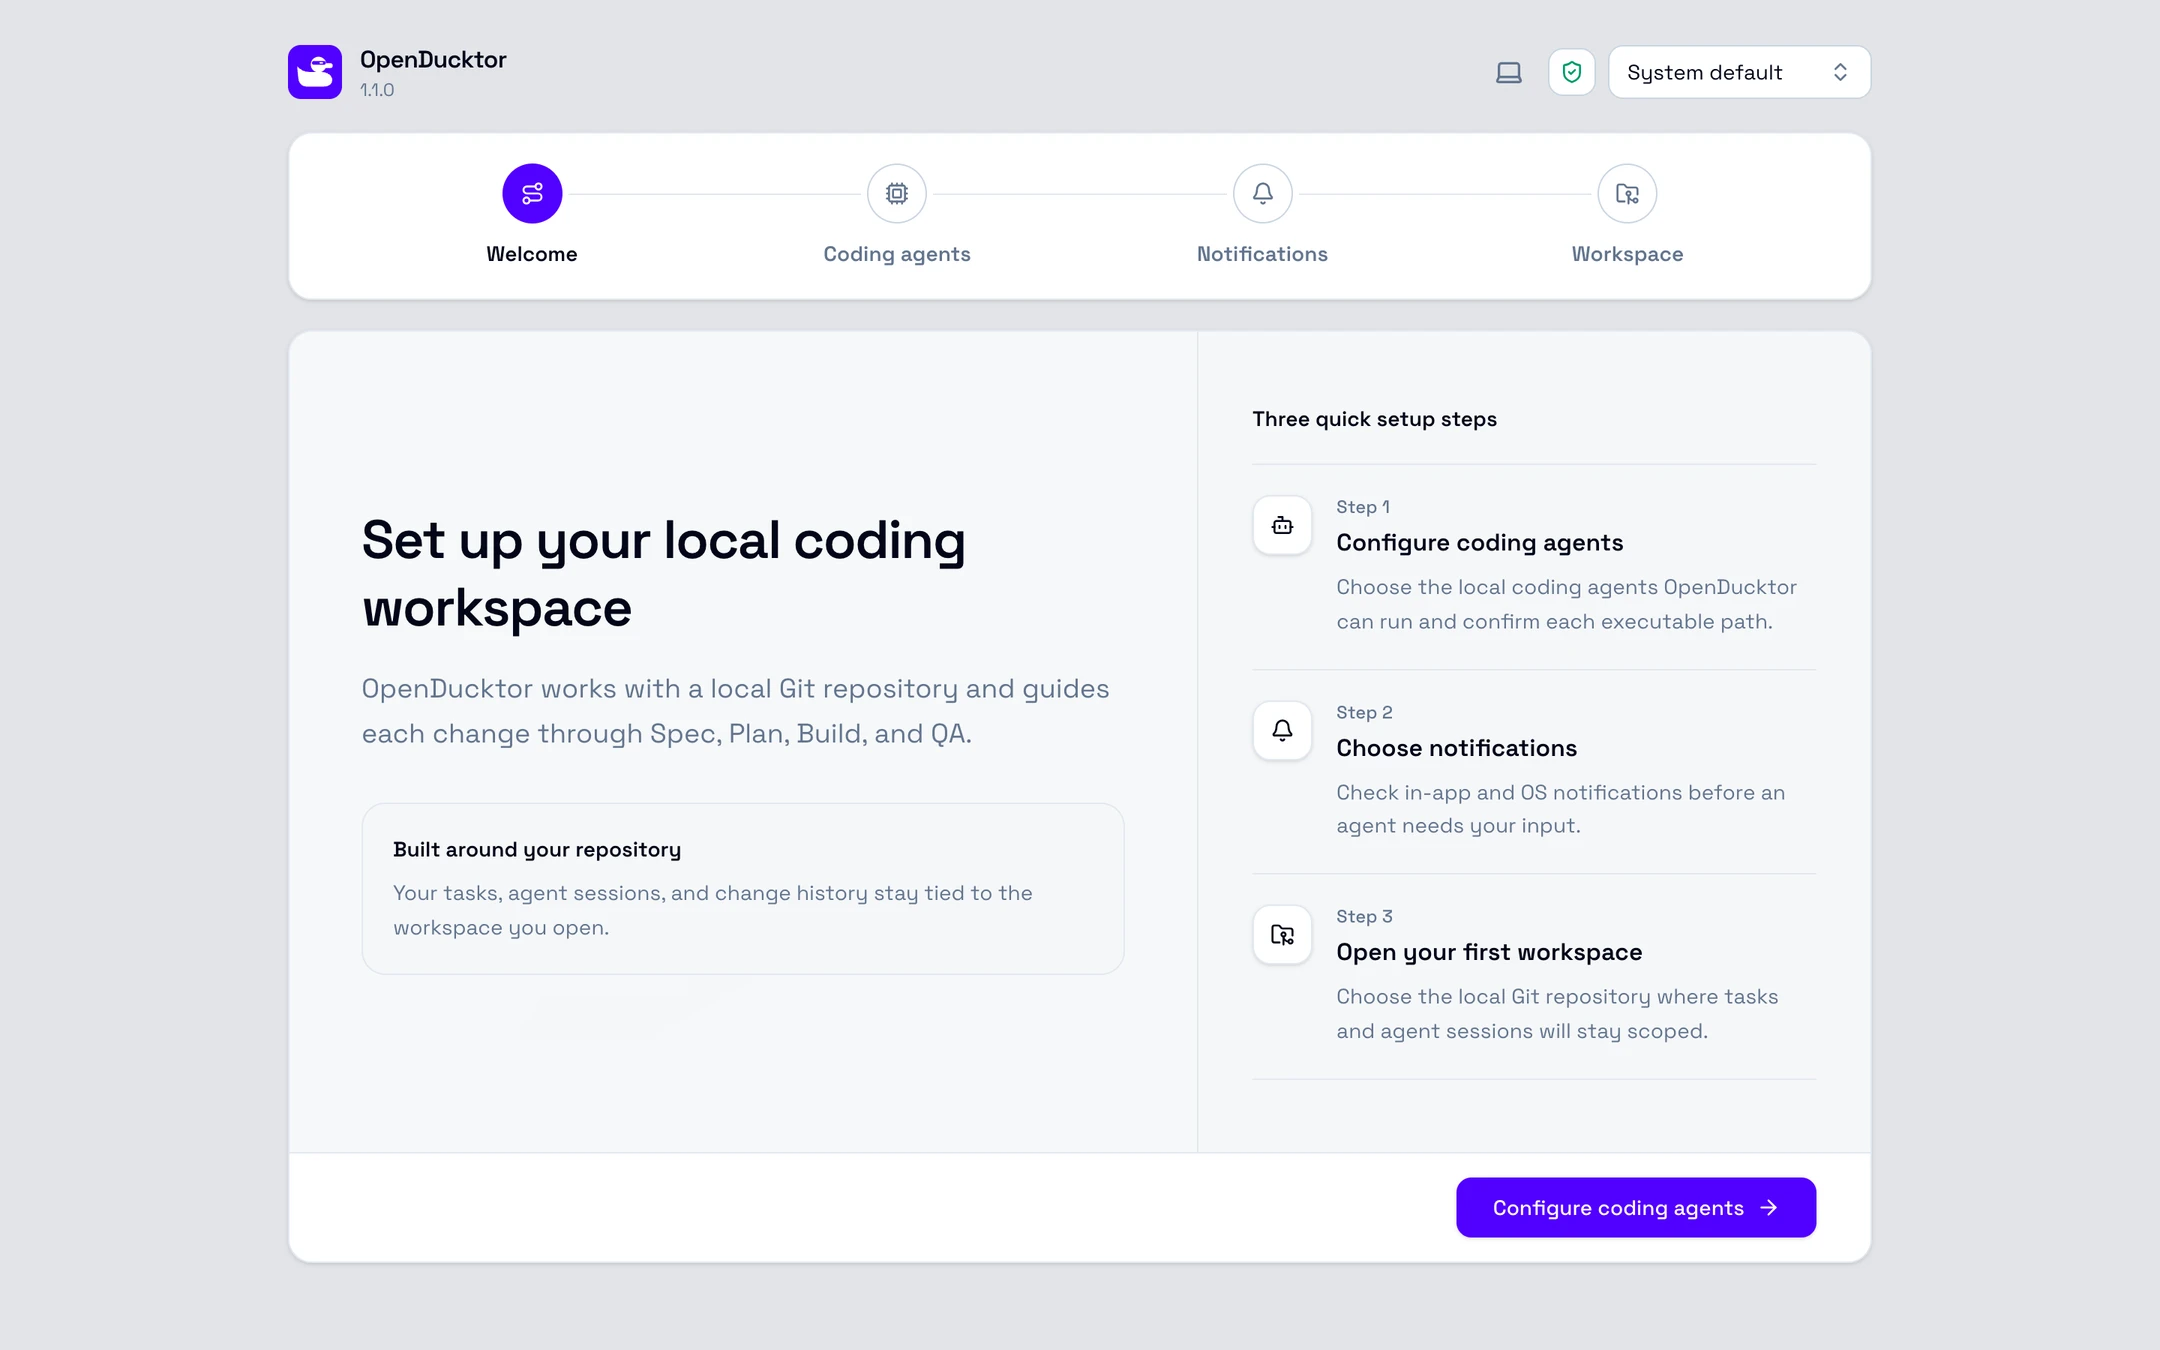
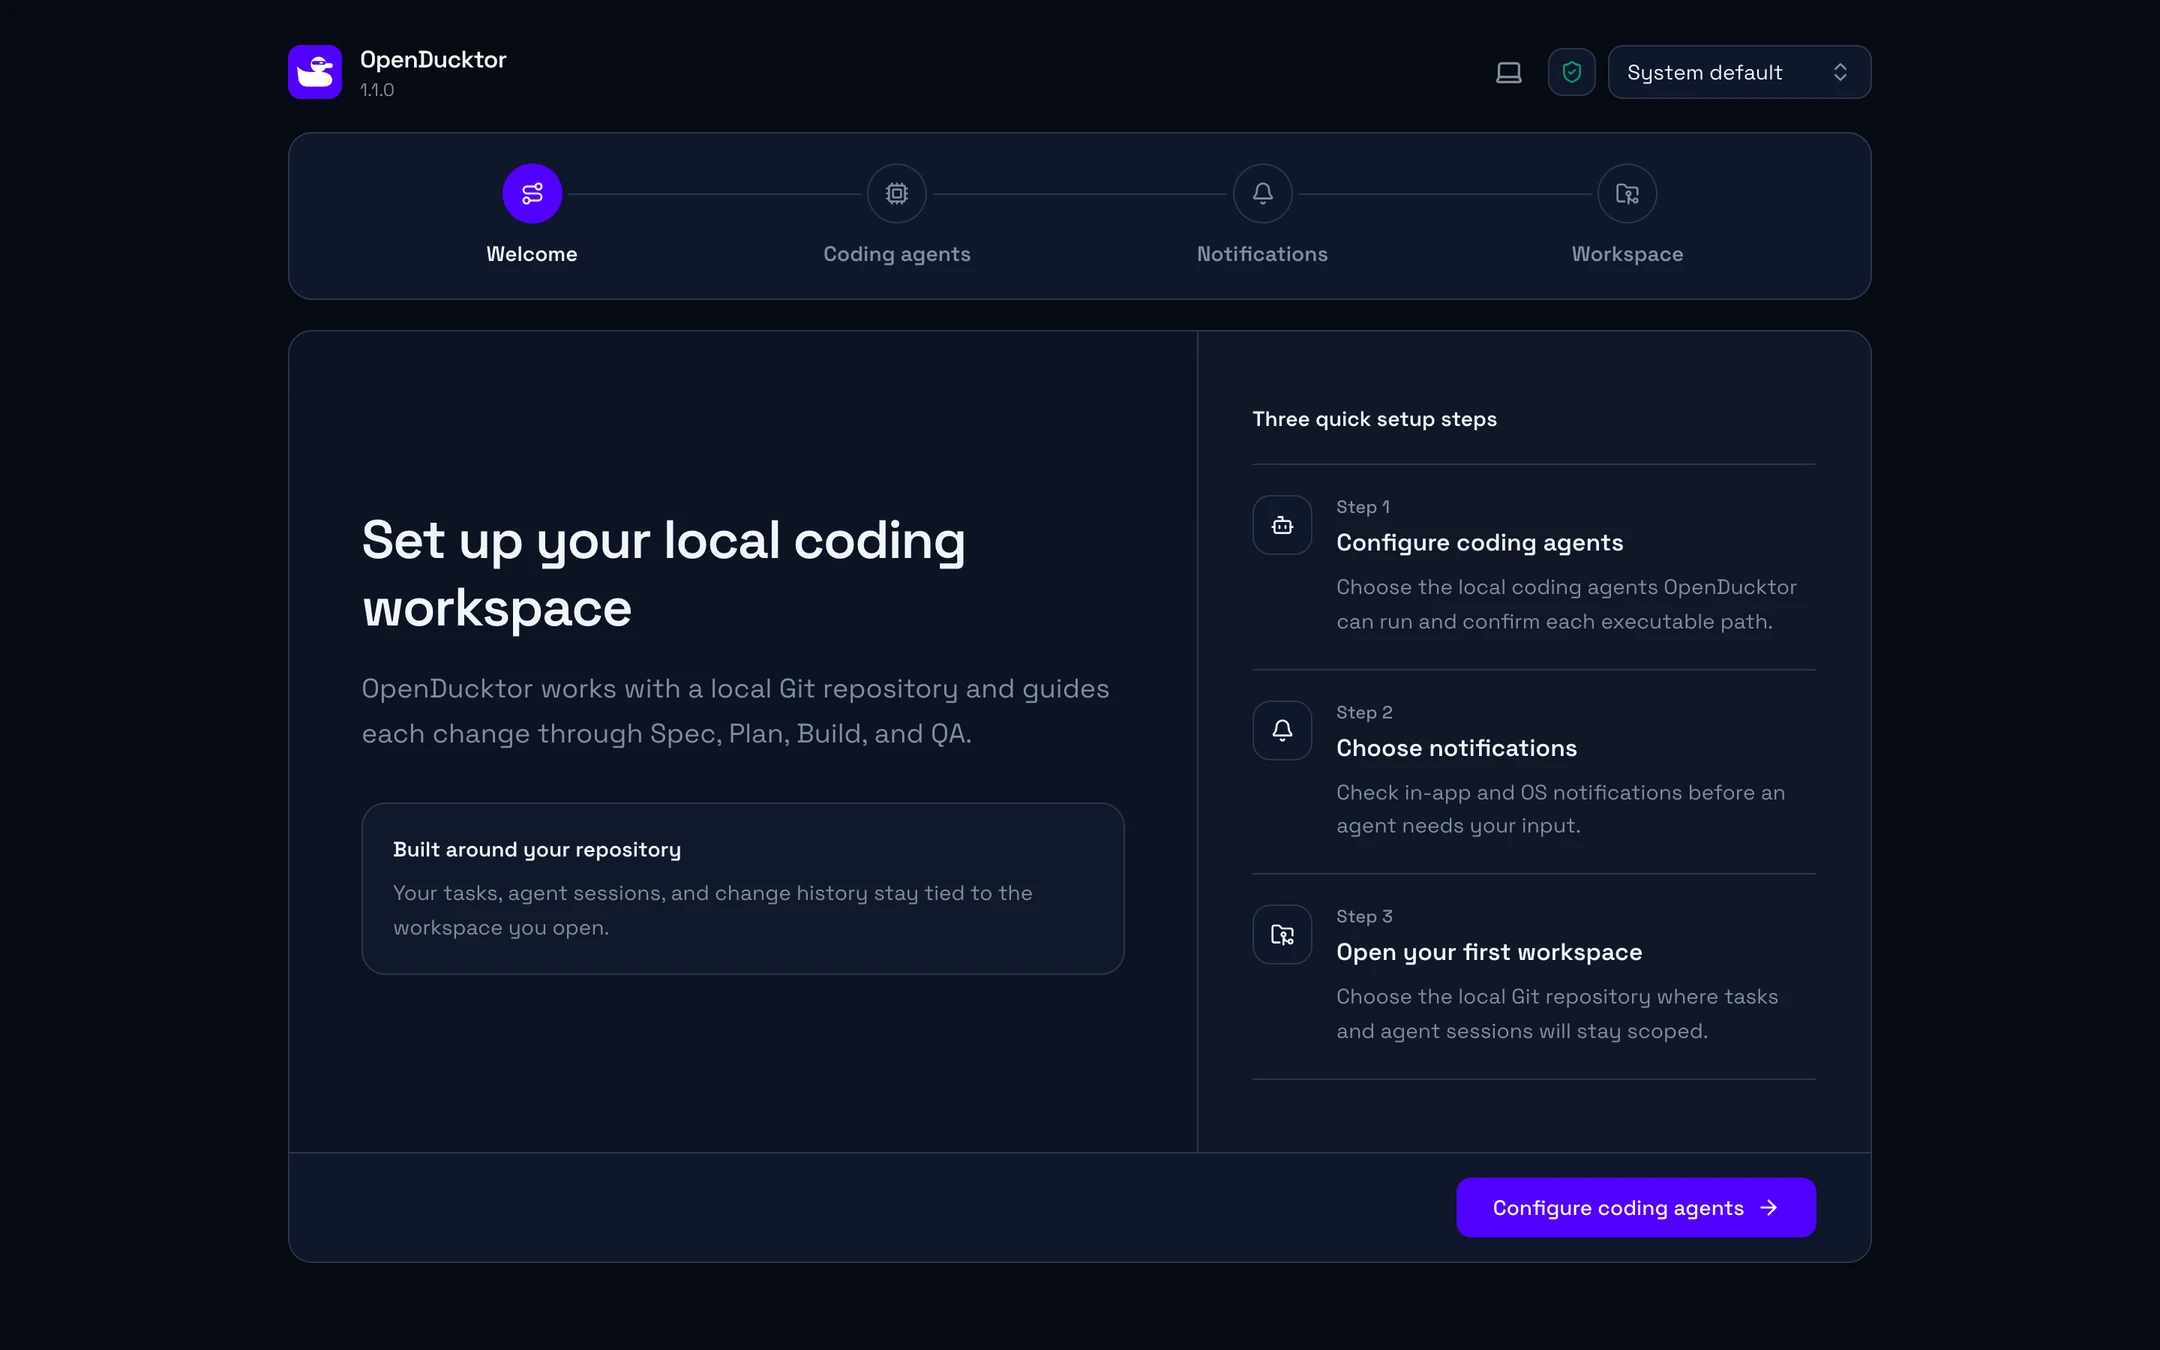
The welcome page of the setup wizard, with the title Set up your local coding workspace. It lists three setup steps and shows the Configure coding agents button.The welcome page of the setup wizard, with the title Set up your local coding workspace. It lists three setup steps and shows the Configure coding agents button.

Turn on your harnesses

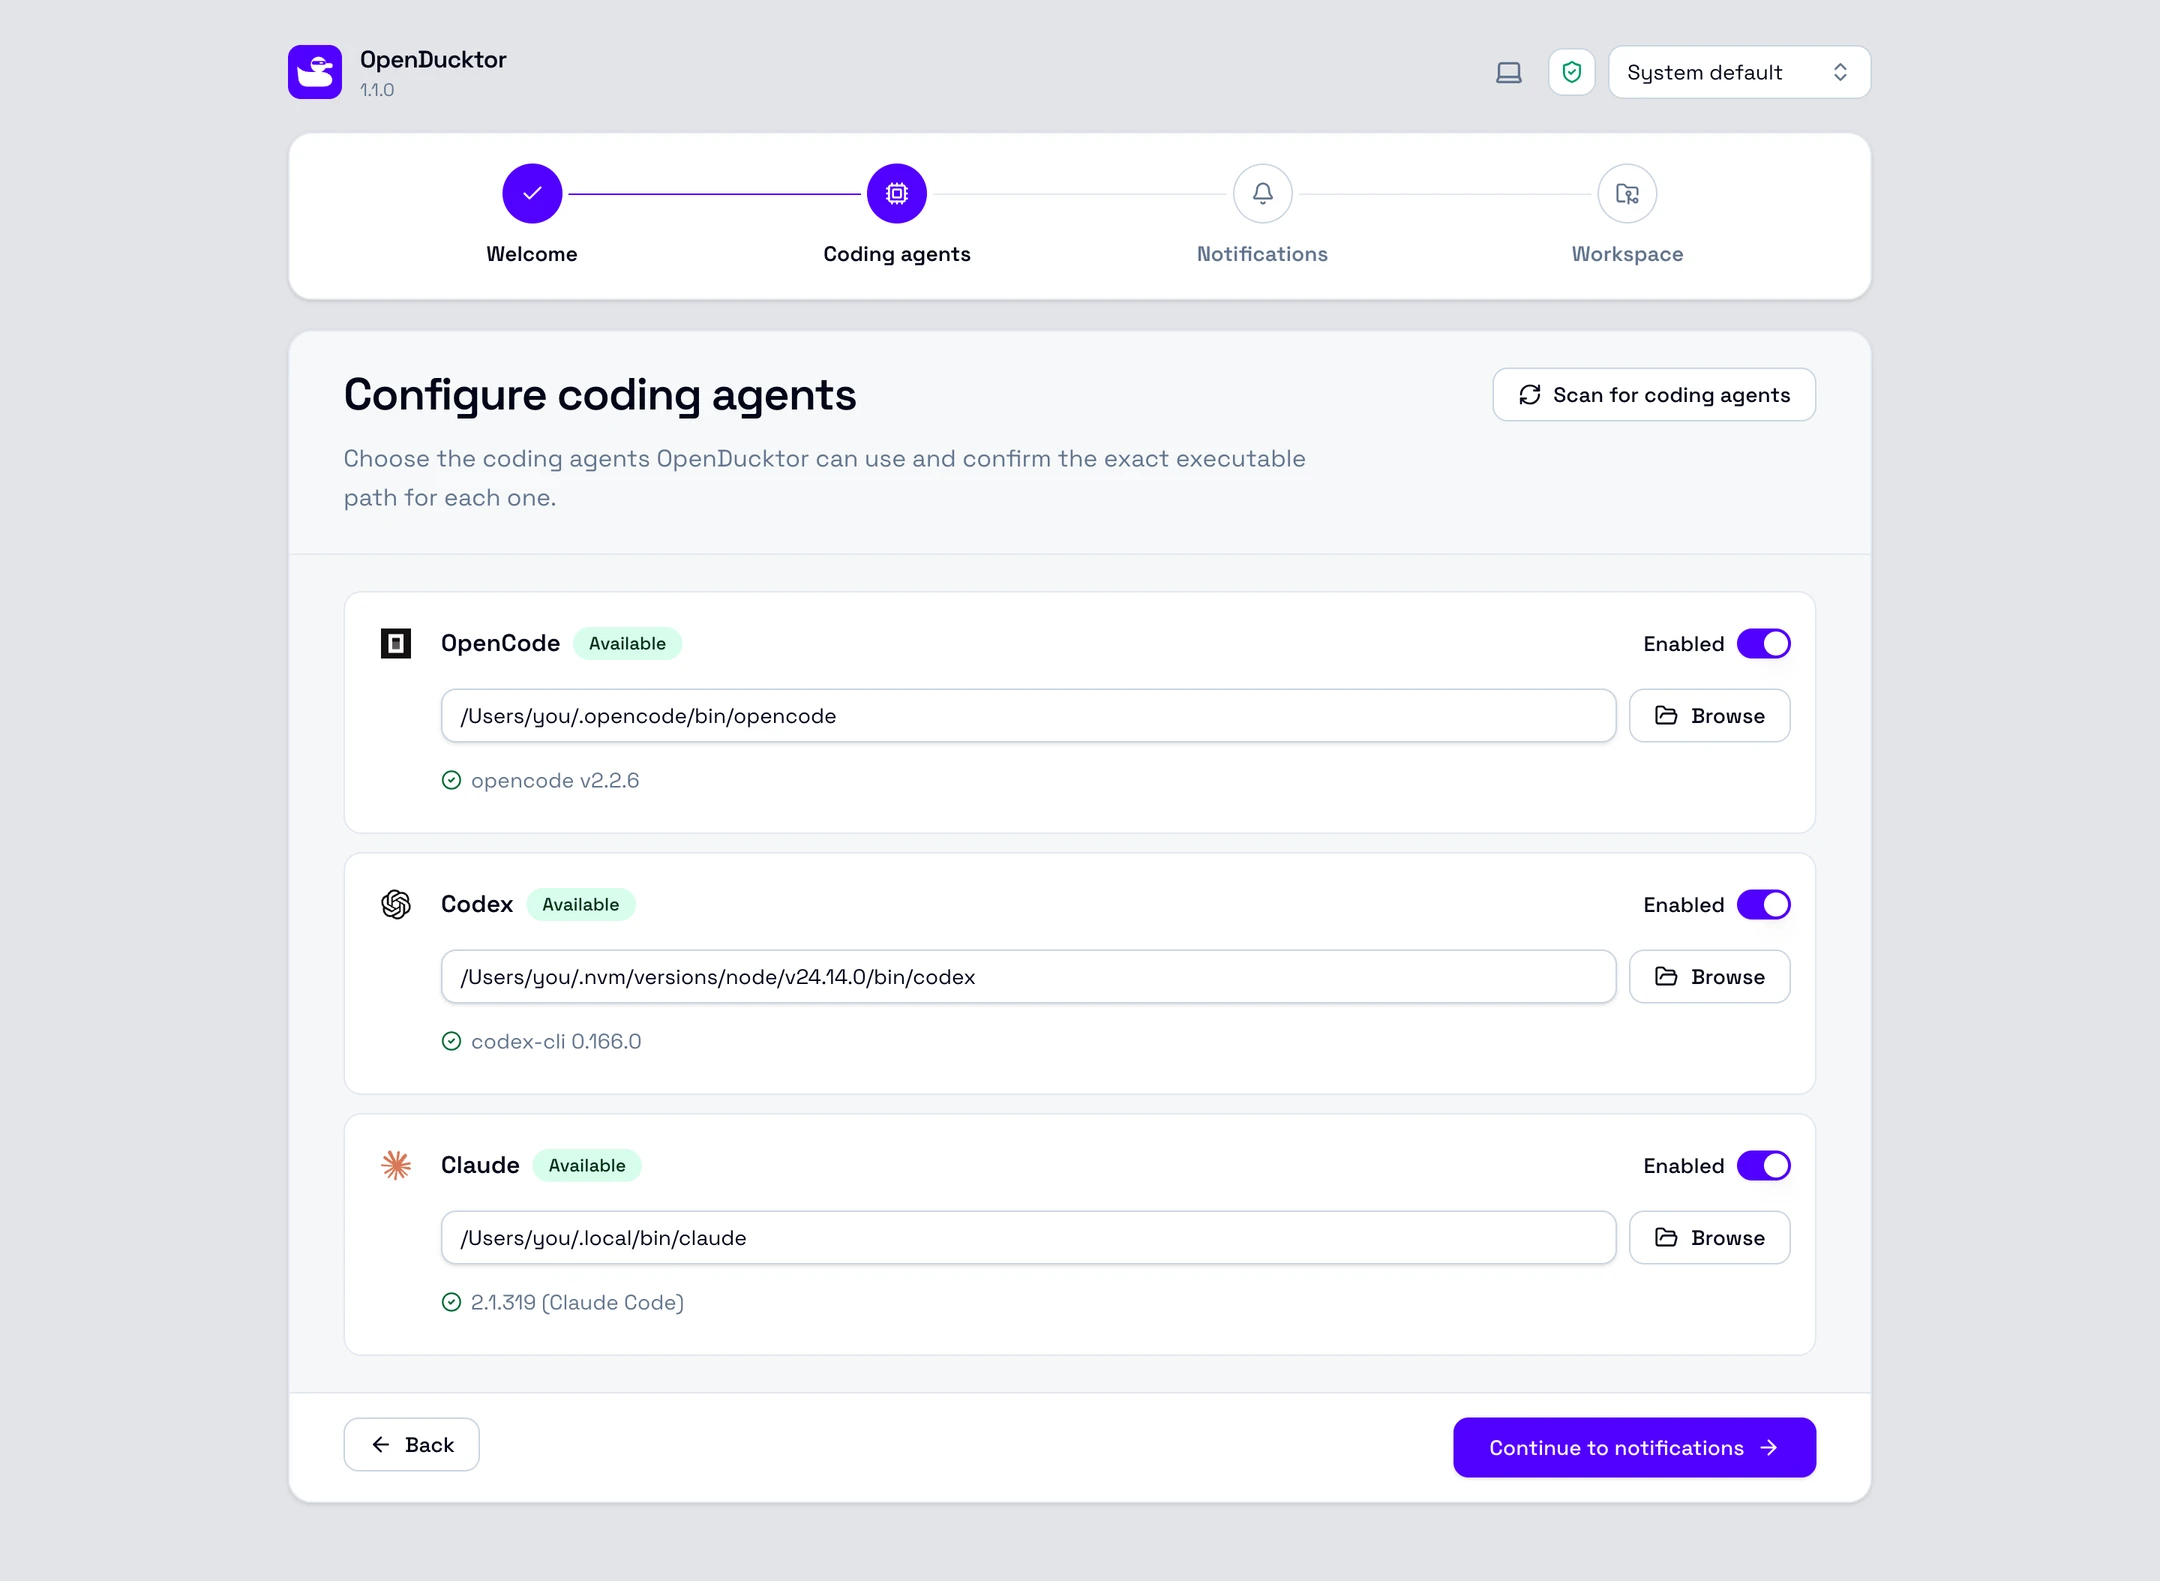
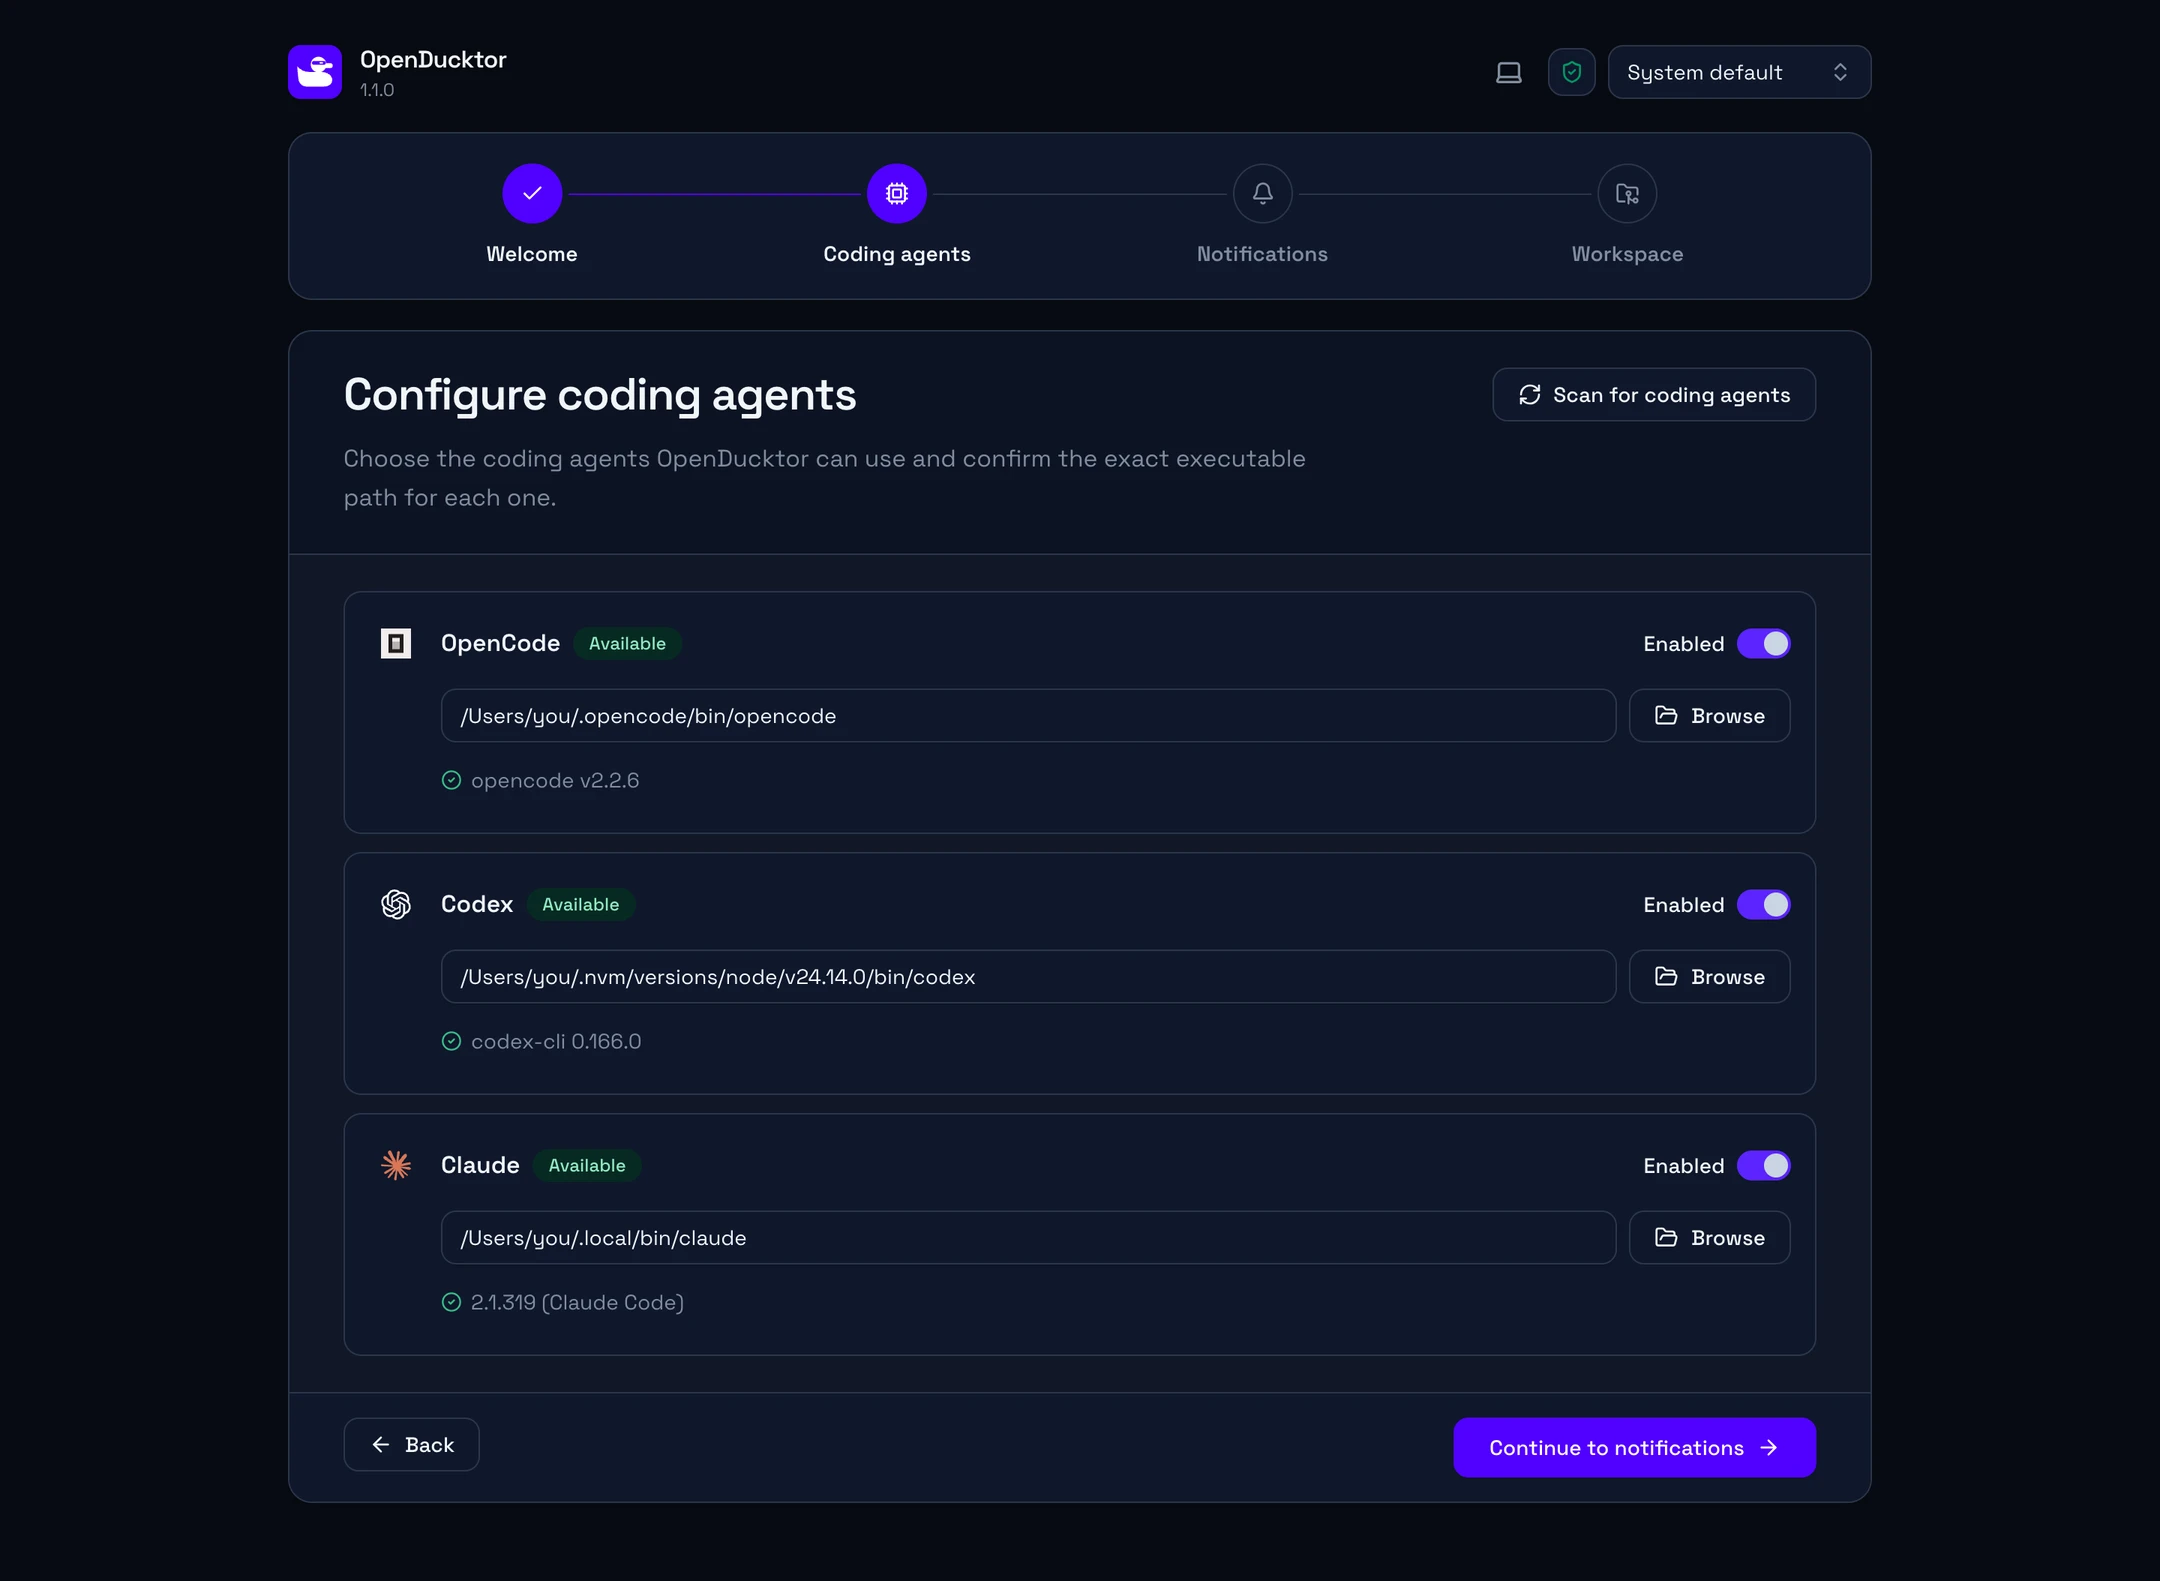
The Configure coding agents step. OpenCode, Codex, and Claude each show Available, an Enabled switch, the executable path, and the version.The Configure coding agents step. OpenCode, Codex, and Claude each show Available, an Enabled switch, the executable path, and the version.
  1. Turn on Enabled for each harness that you want to use.
  2. Check that each harness shows Available. If it does not, select Browse and choose its executable.

If no harness shows Available, sessions cannot start. See Harnesses in Troubleshooting.

Choose notifications
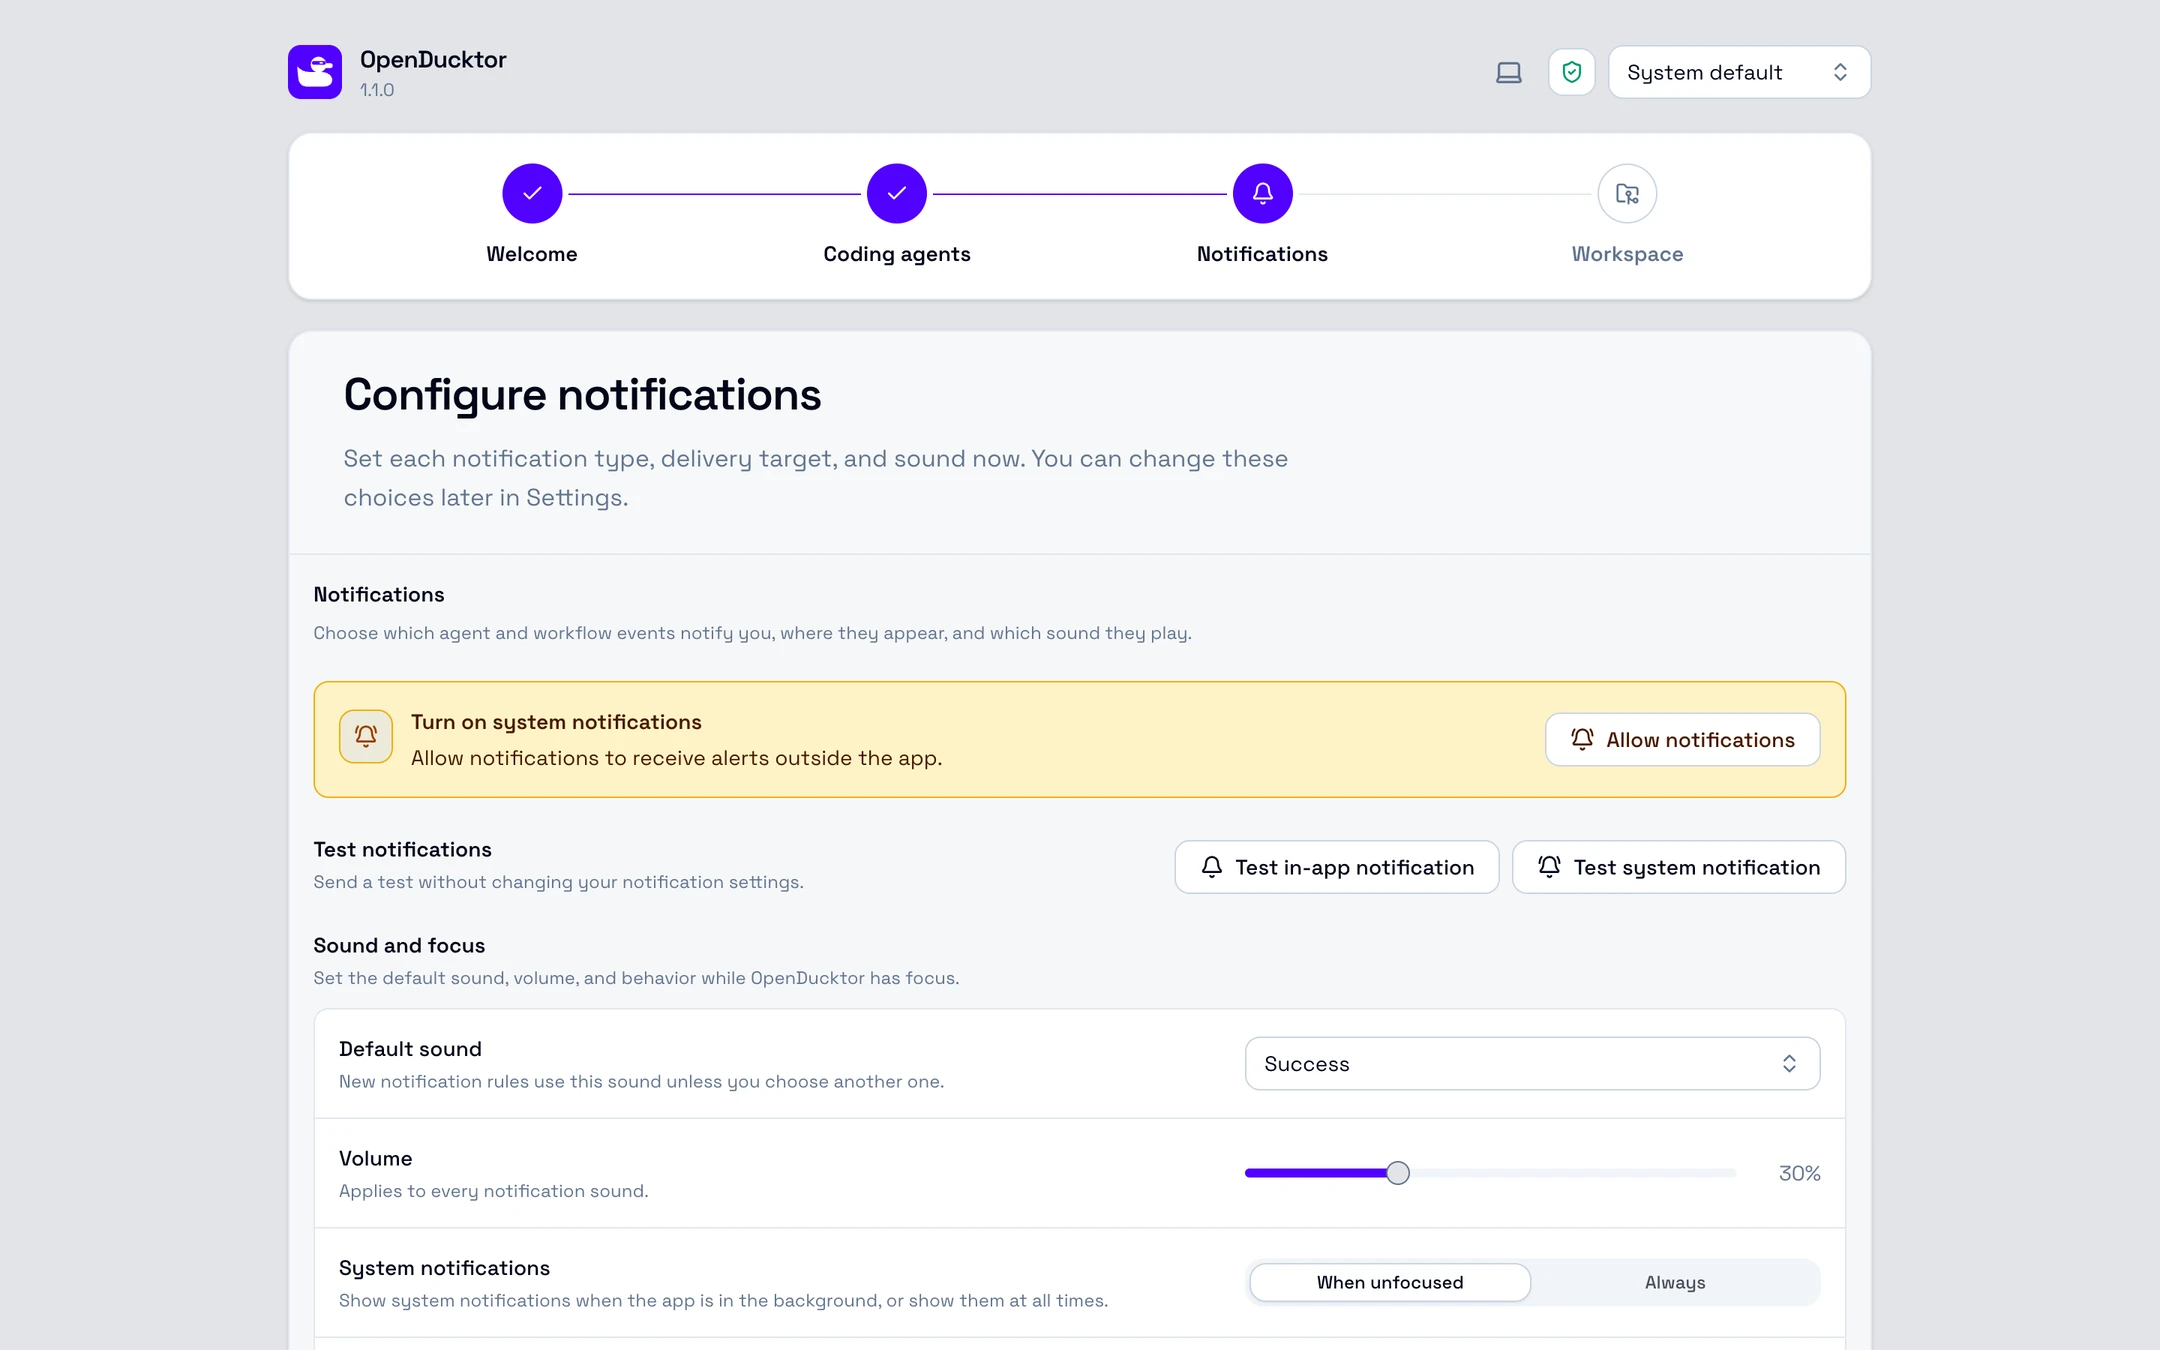
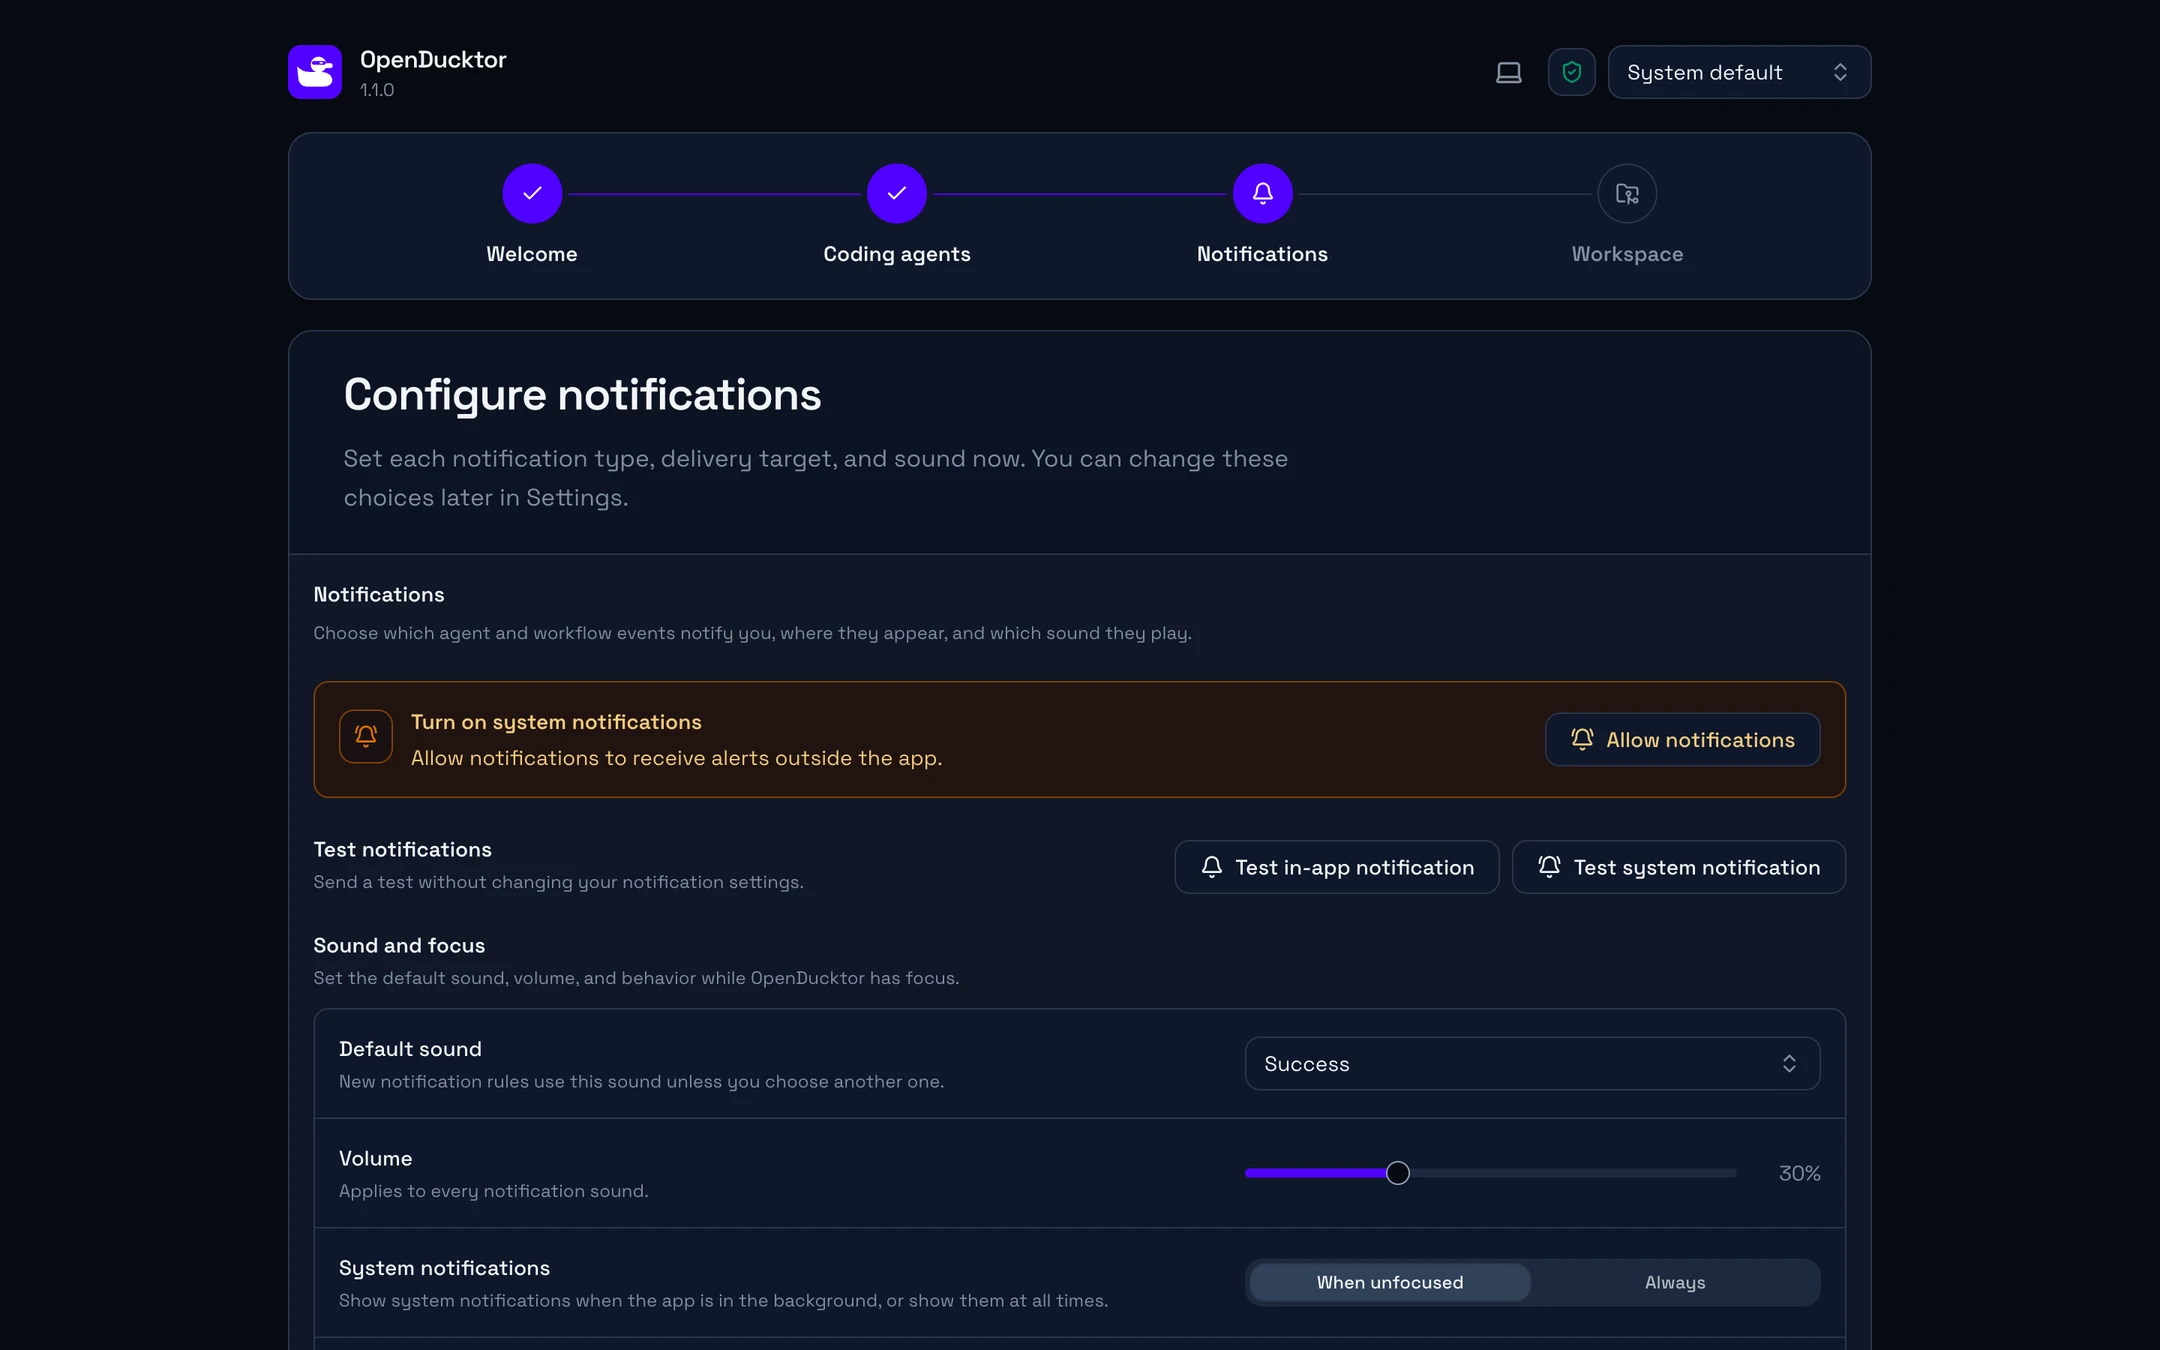
The Configure notifications step in the browser runner, with Turn on system notifications and its Allow notifications button, the Test in-app notification and Test system notification buttons, and the sound and focus options.The Configure notifications step in the browser runner, with Turn on system notifications and its Allow notifications button, the Test in-app notification and Test system notification buttons, and the sound and focus options.

Turn on system notifications for your platform. See System permission. To choose the events that notify you, see Notifications.

Open your repository
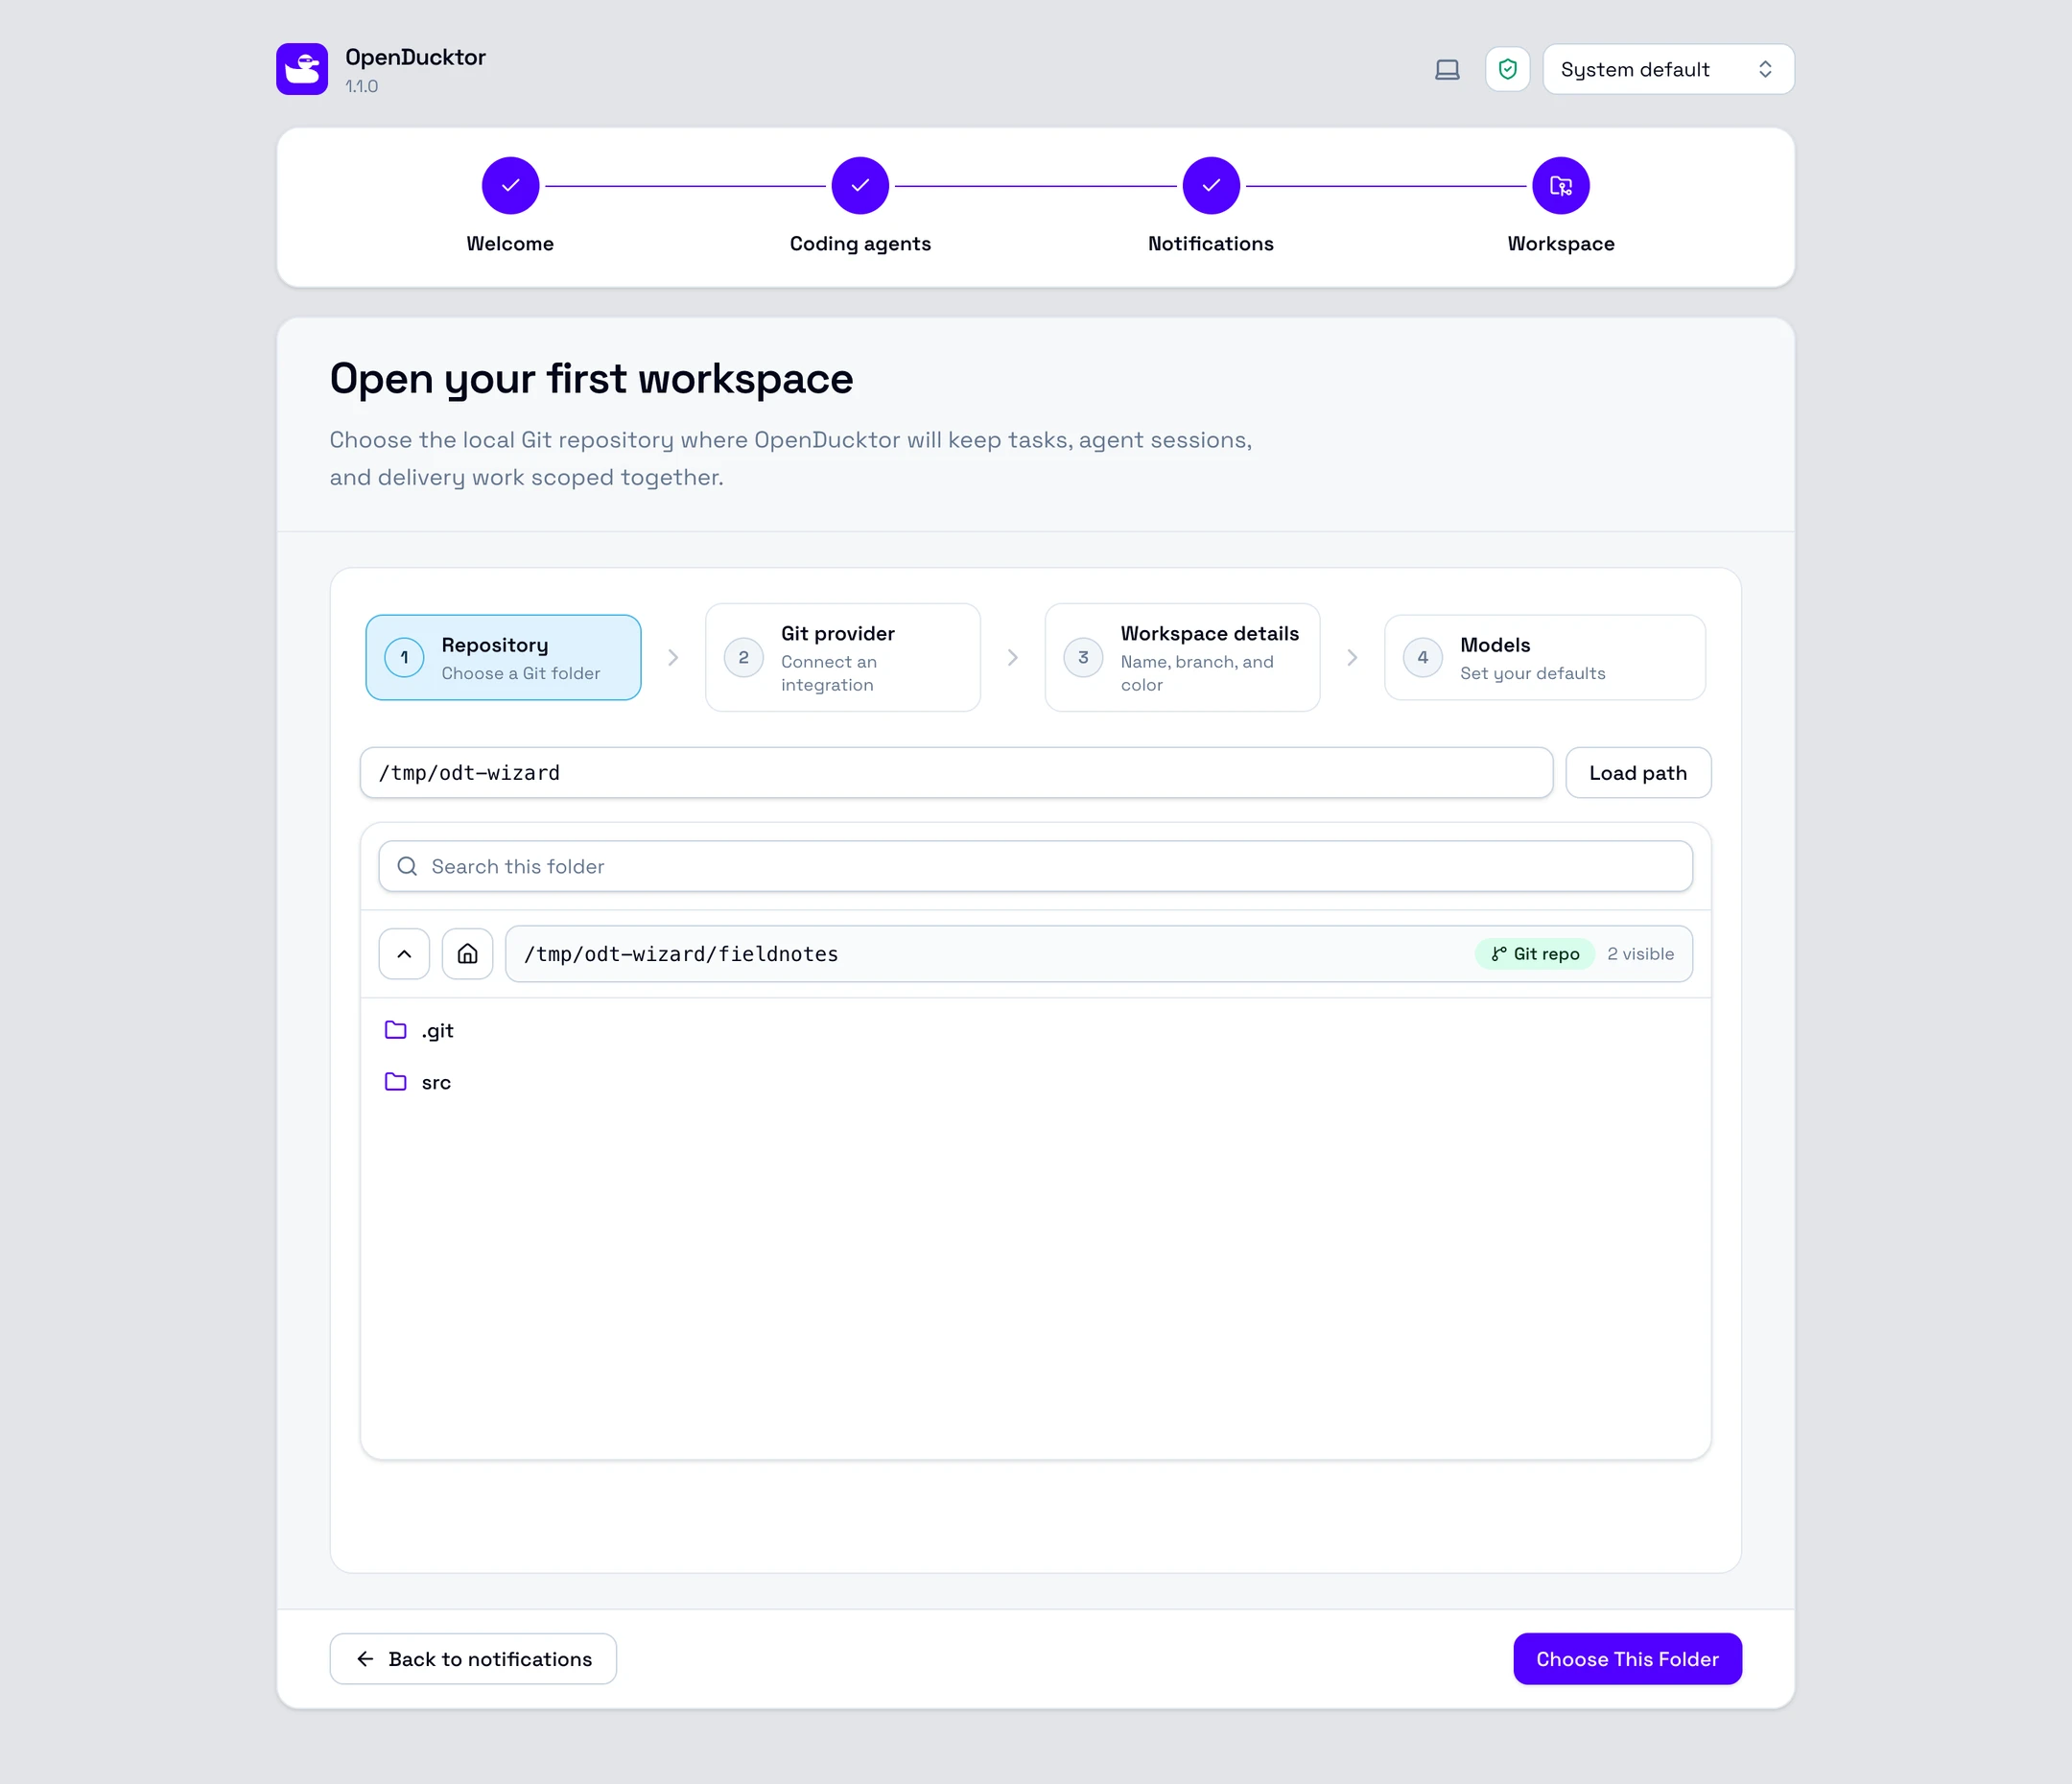
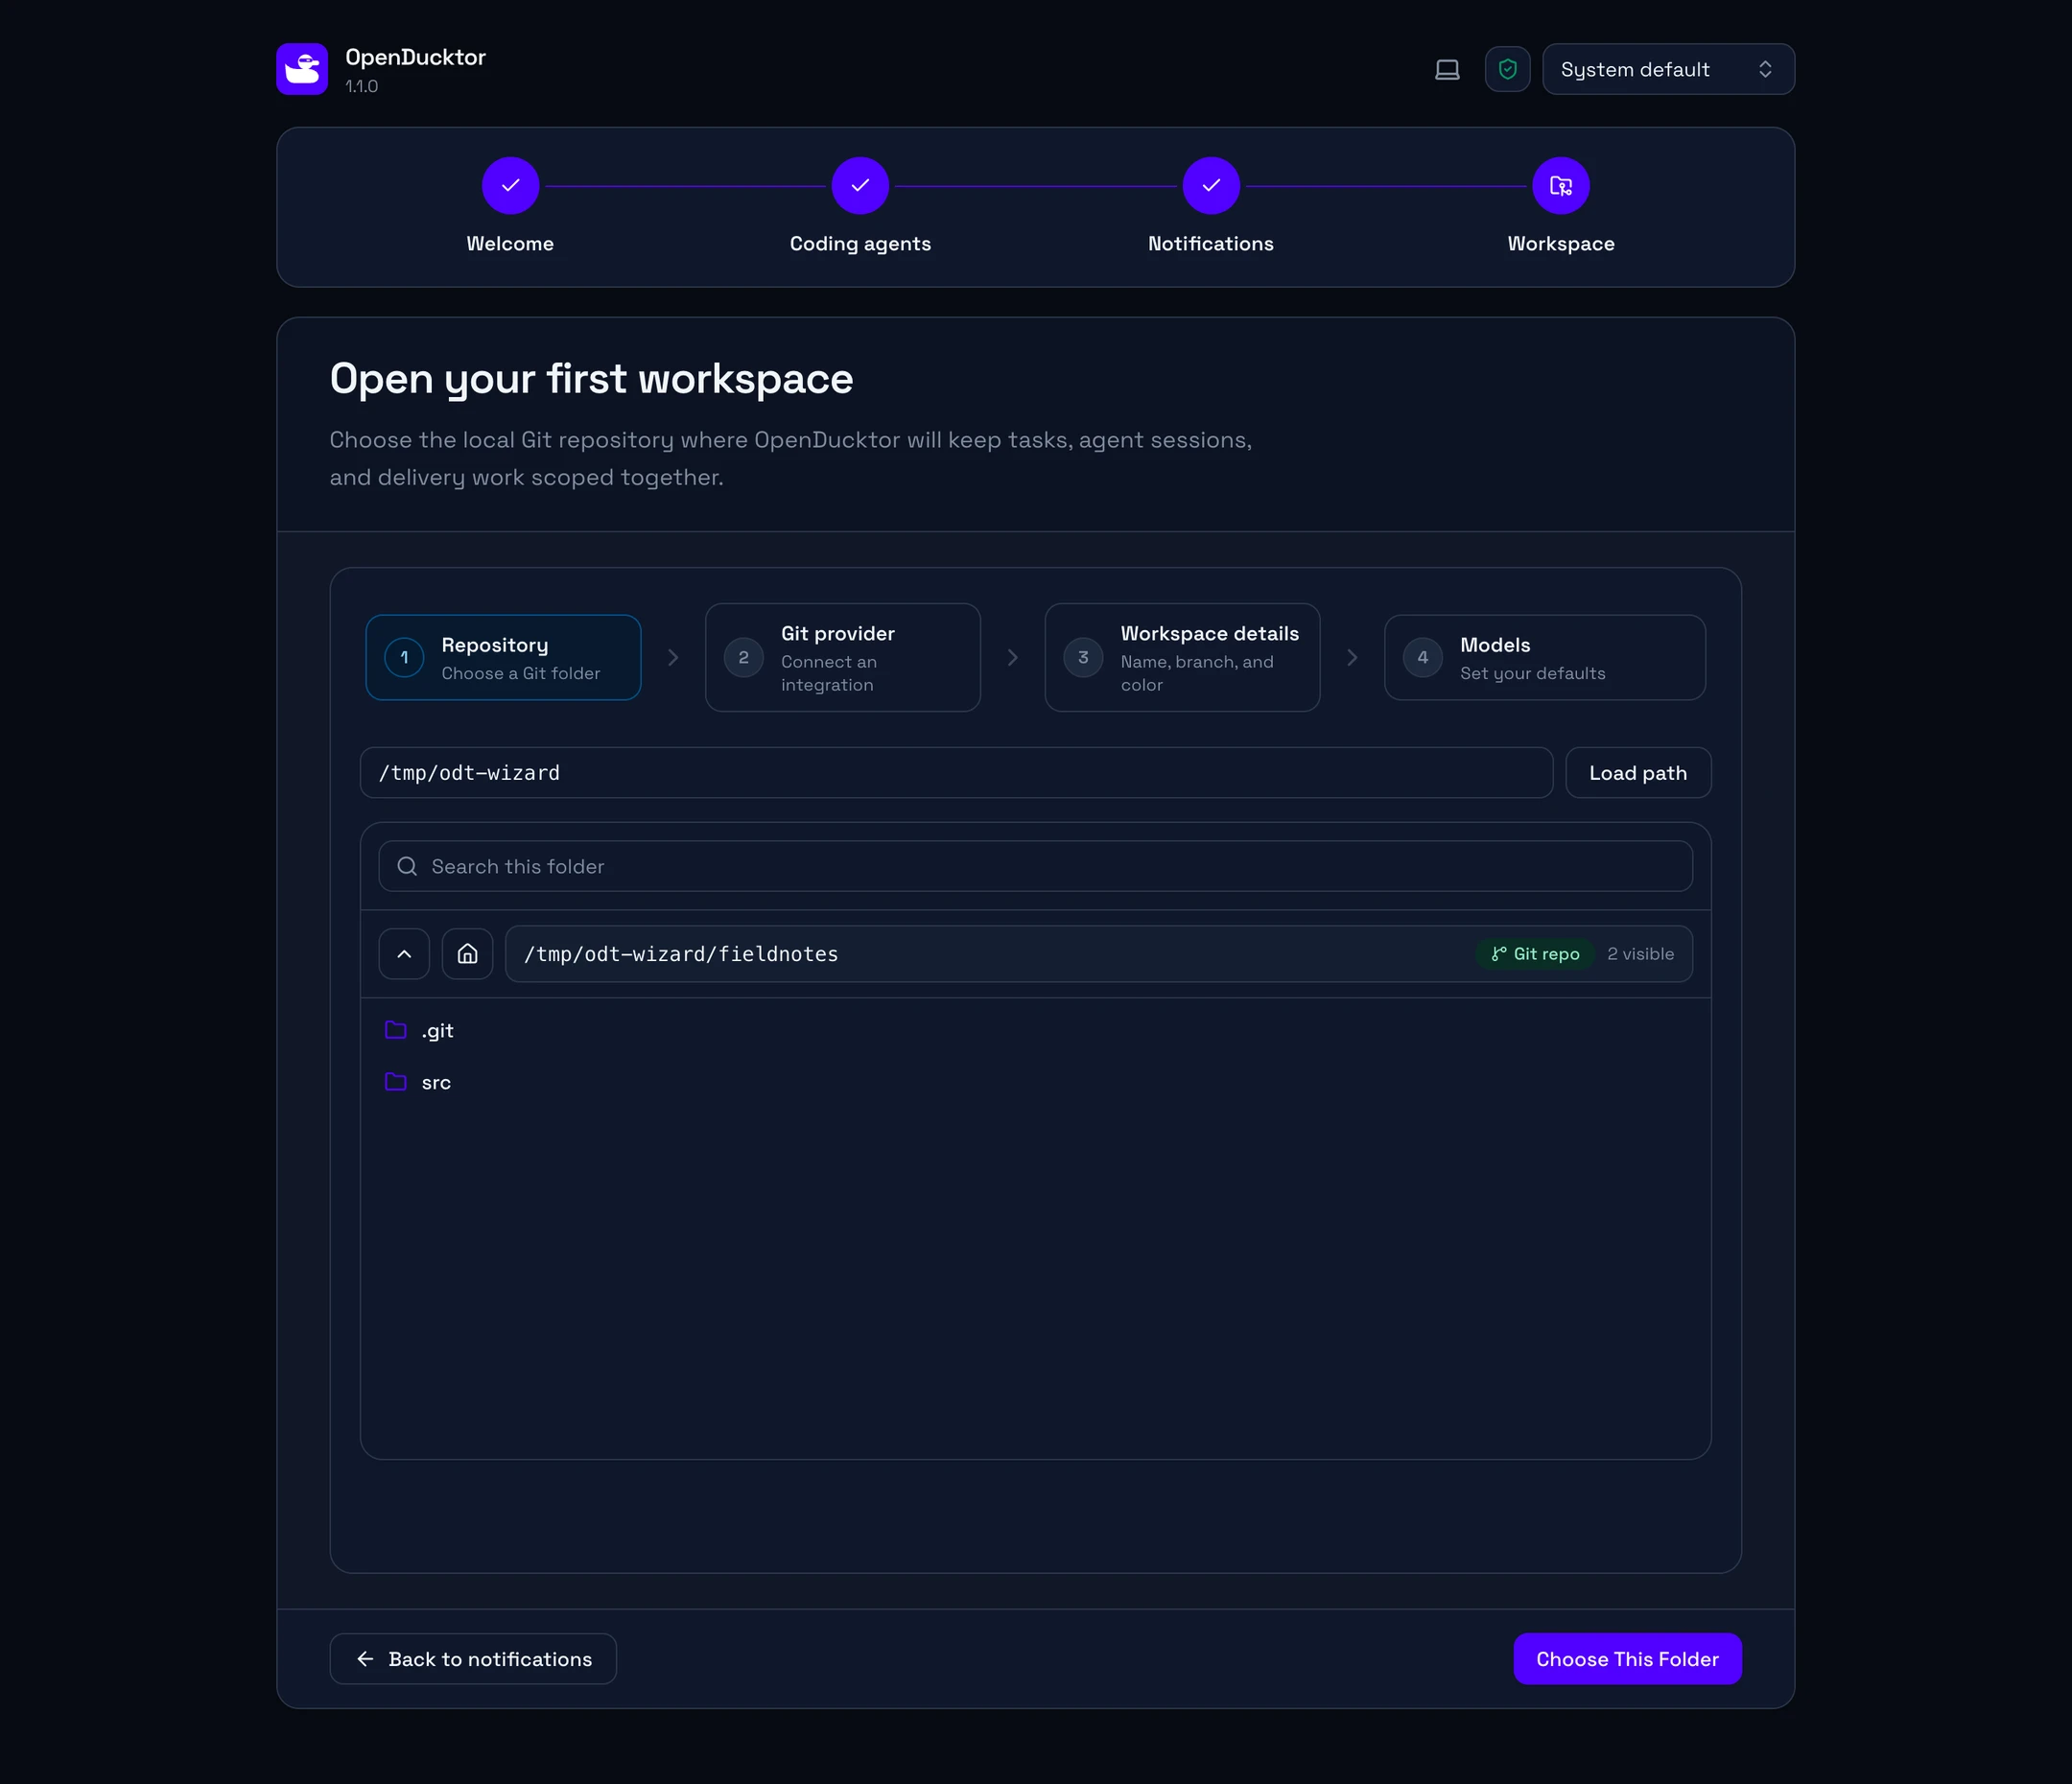
The Open your first workspace step. The repository browser shows the fieldnotes folder with the Git repo badge.The Open your first workspace step. The repository browser shows the fieldnotes folder with the Git repo badge.
  1. On Open your first workspace, go to the folder of your repository, then select Choose This Folder.
  2. Choose No provider, GitHub, GitLab, or Azure DevOps, then select Continue. To connect a provider later, select Skip Git provider setup. See Connect a Git provider.
  3. Check the Workspace name and the Default target branch. If the branch field is empty, choose the branch.

Choose the default model
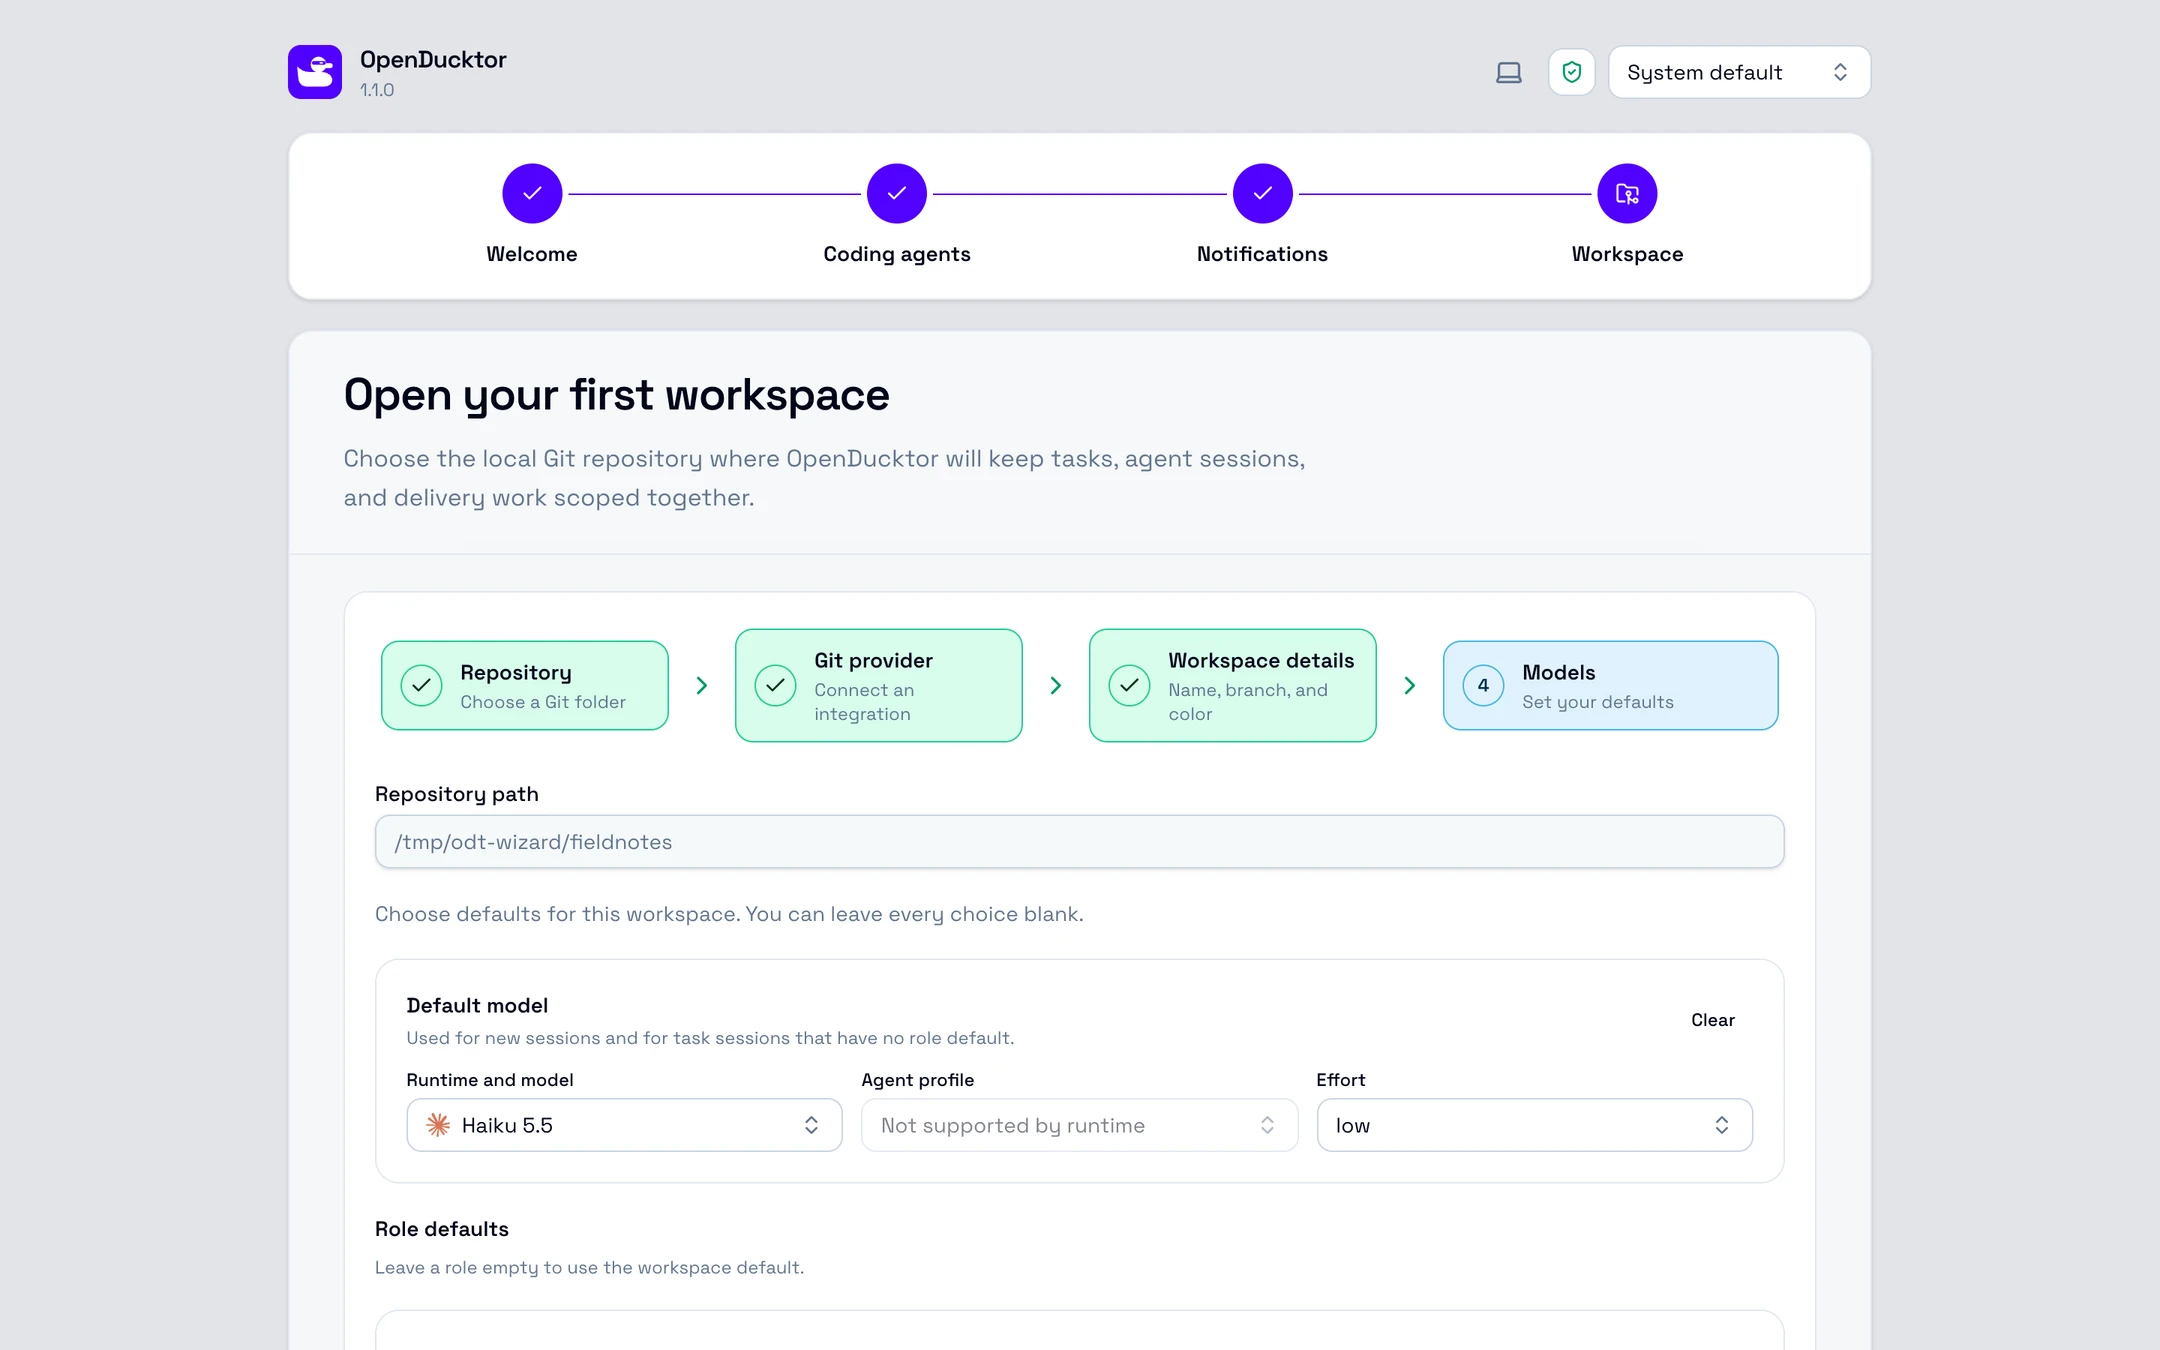
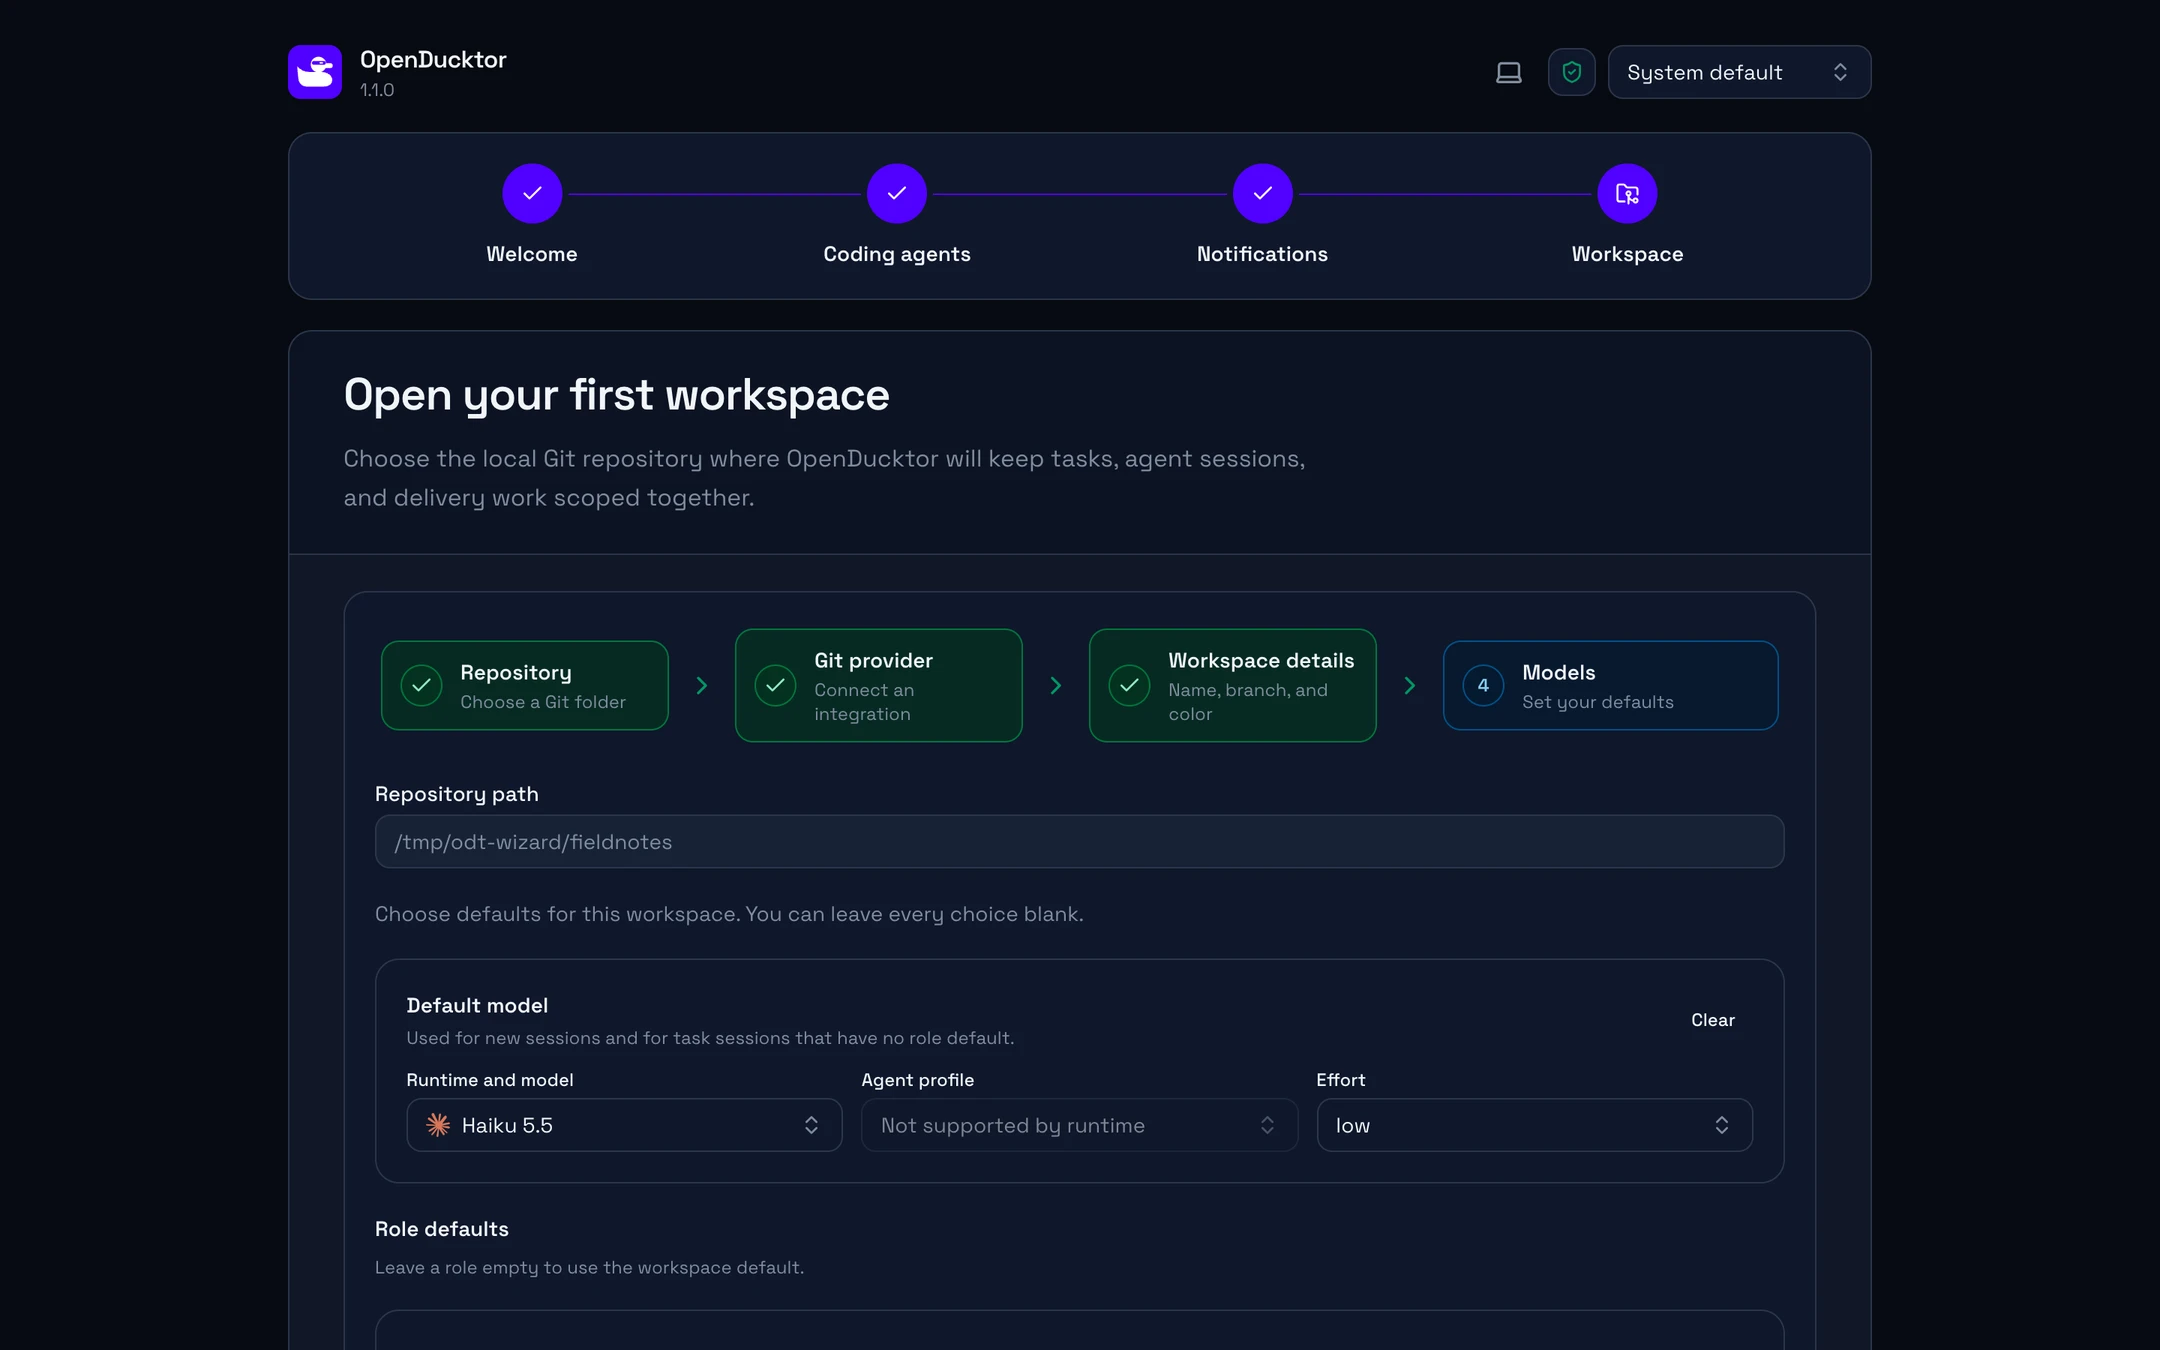
The Models step. The Default model is Haiku 5.5 with low effort, Agent profile shows Not supported by runtime, and the Role defaults section is below it.The Models step. The Default model is Haiku 5.5 with low effort, Agent profile shows Not supported by runtime, and the Role defaults section is below it.

A role without a model in Role defaults uses the Default model. You can change both later. See Models. Then select Open repository.

Create your first task

Start with a small, clear change, such as a typo fix. The Builder can start a Task or a Bug immediately. A Feature first gets a spec and a plan. See Issue types.
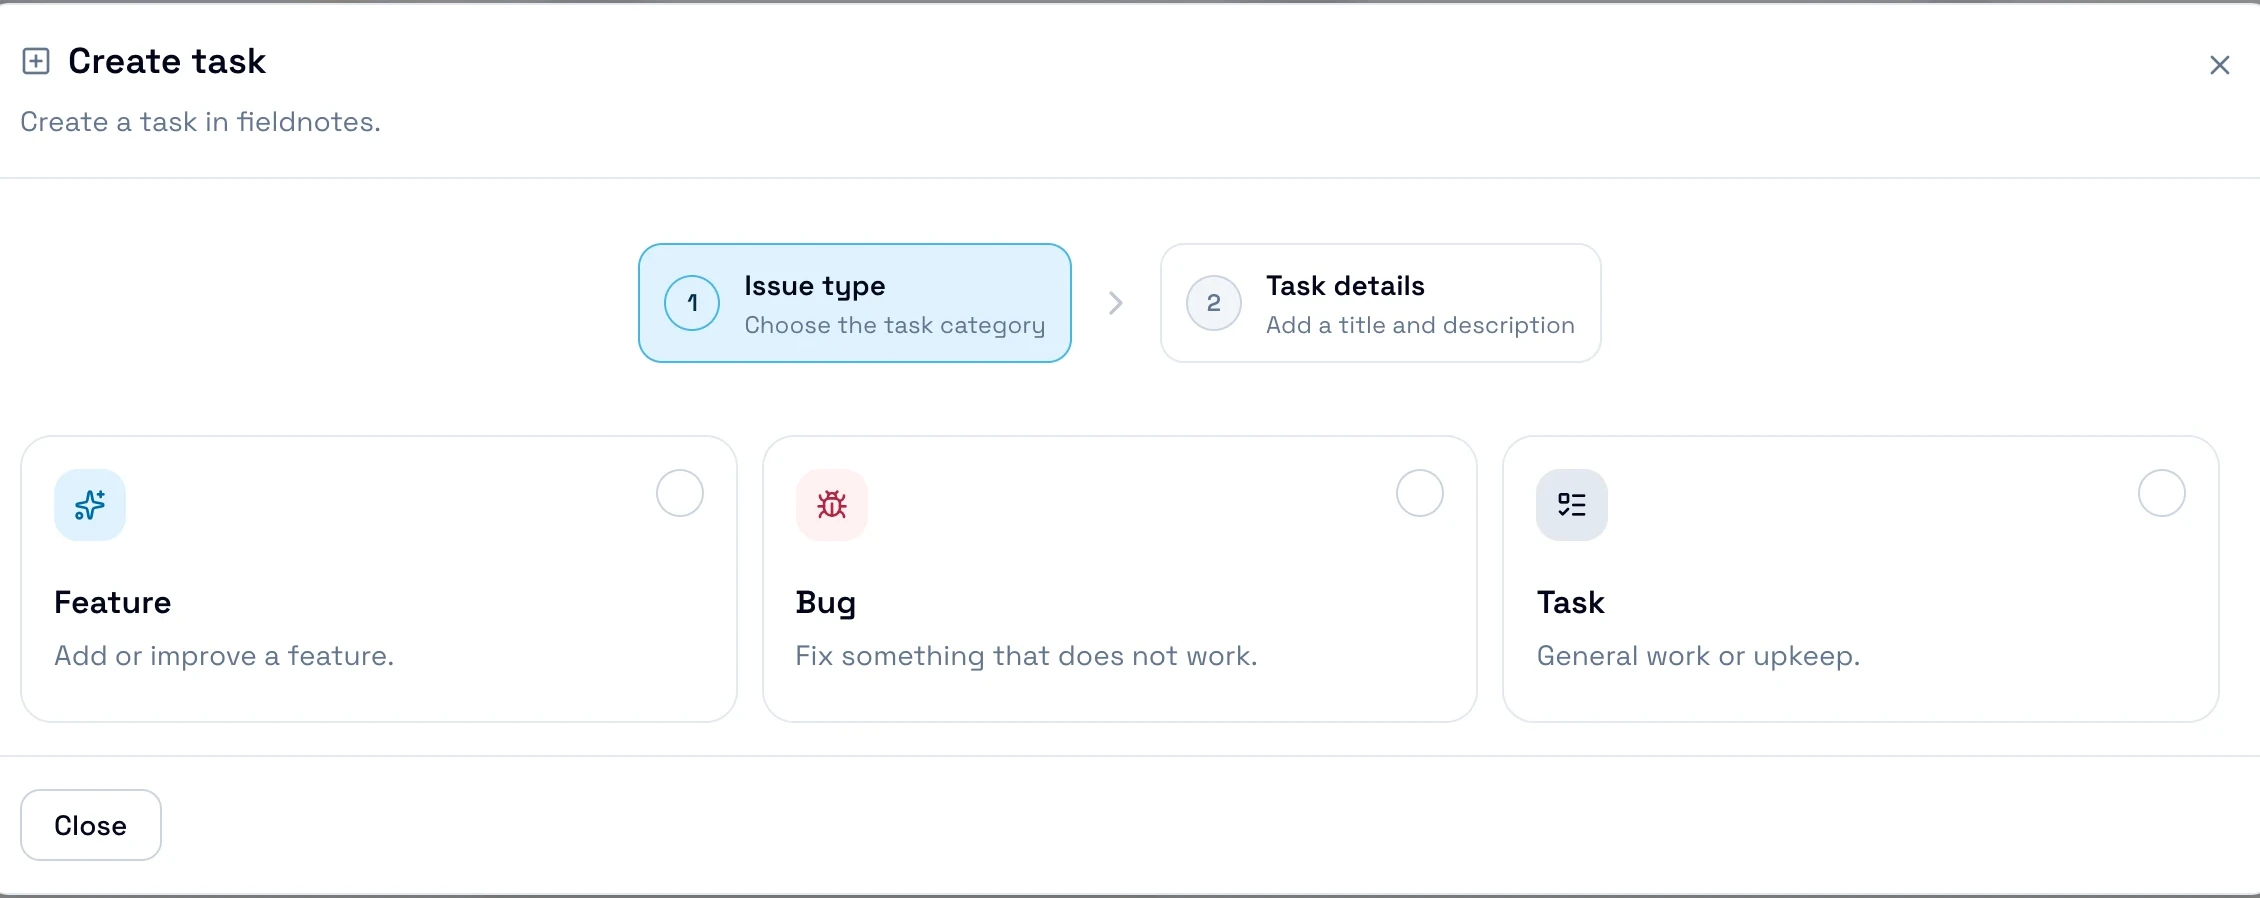
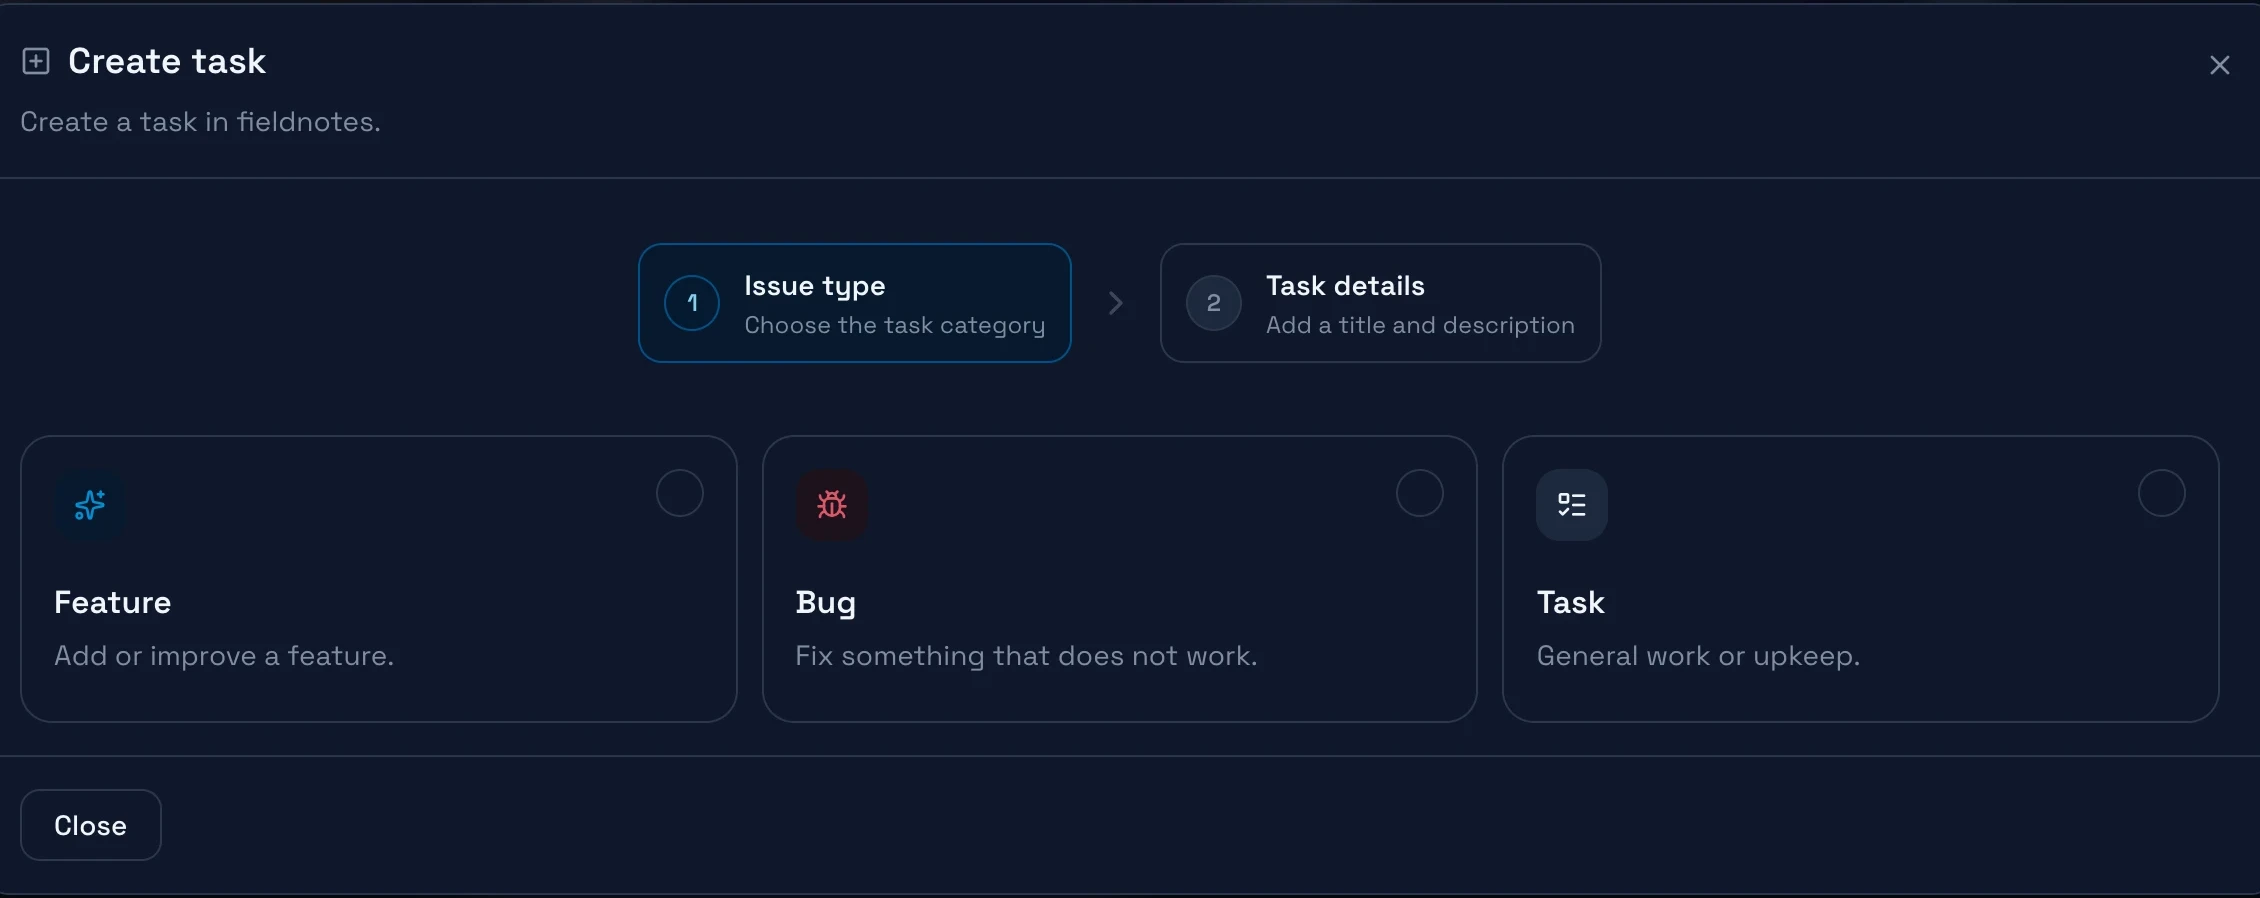
The first step of the Create task dialog. It offers three issue types: Feature, Bug, and Task, each with a short description.The first step of the Create task dialog. It offers three issue types: Feature, Bug, and Task, each with a short description.
  1. In the sidebar, select New task, then Task.
  2. Type a Title and a Description of the change, then select Create task.

Start the Builder
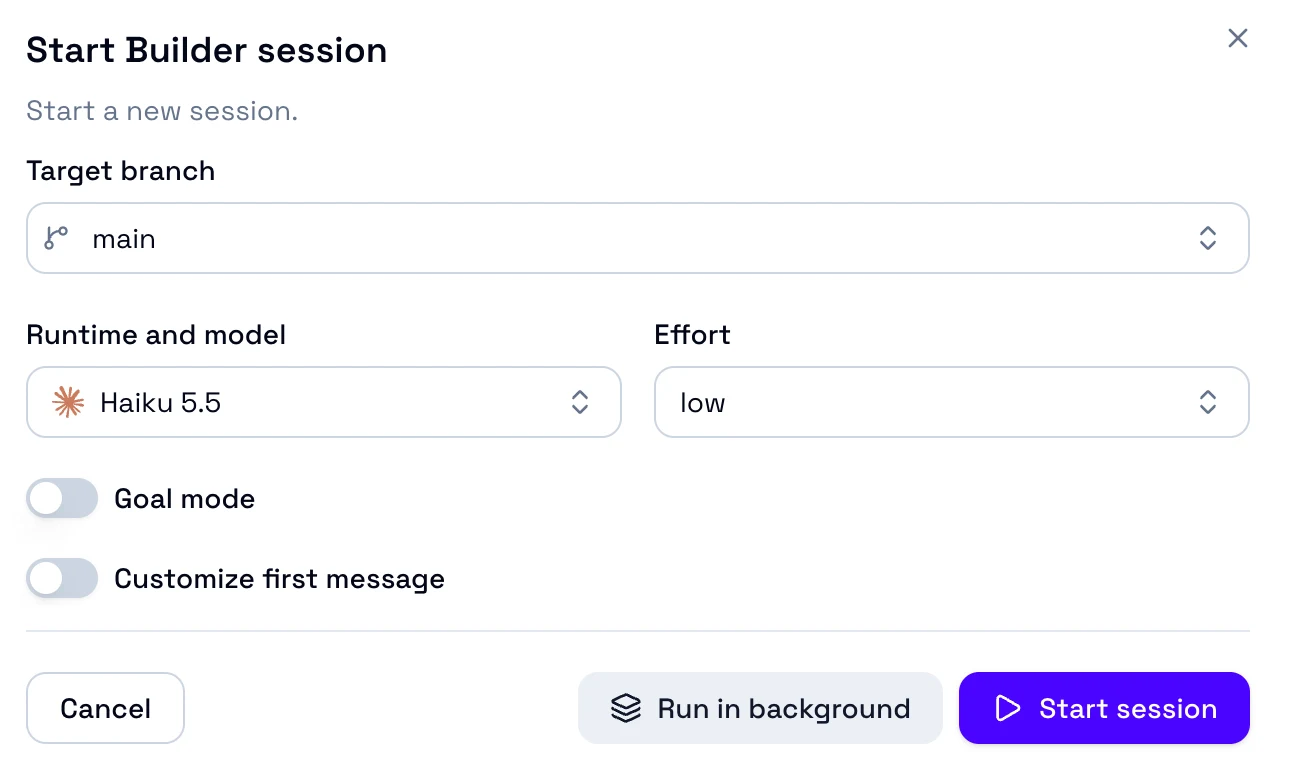
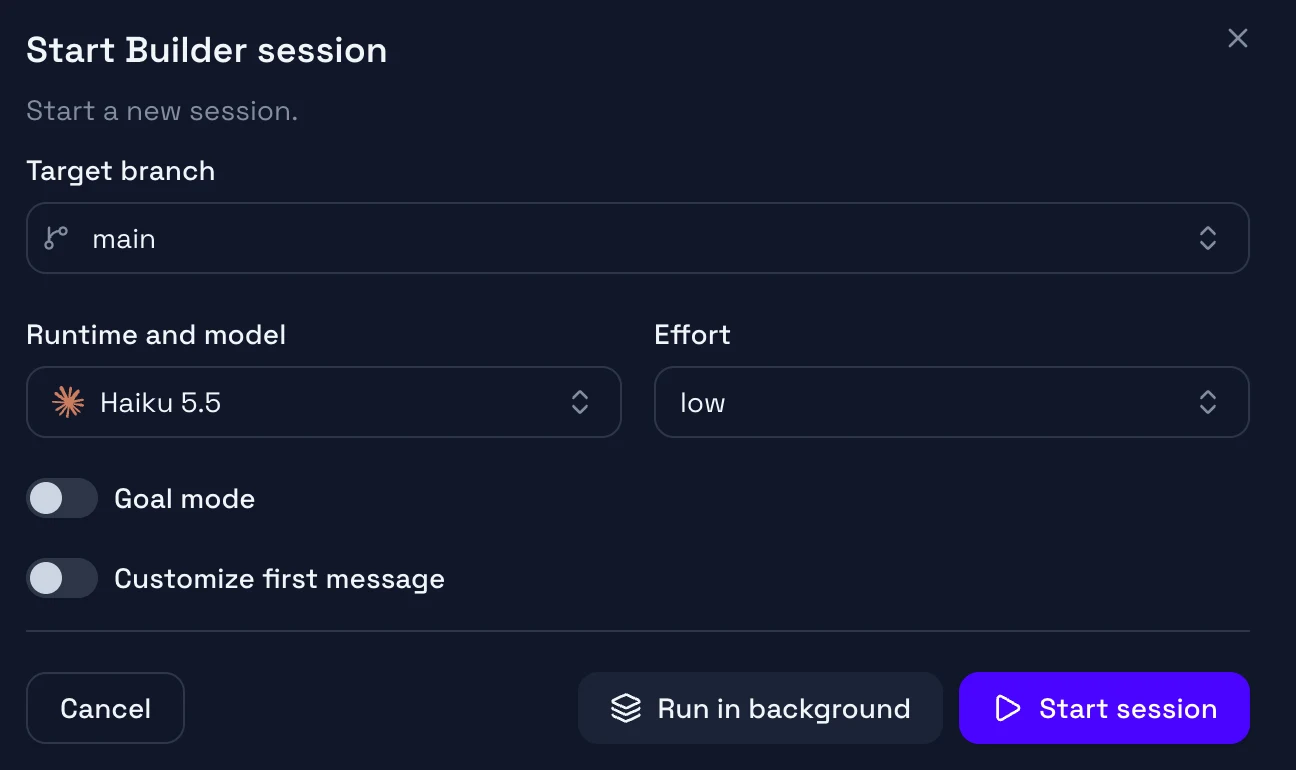
The Start Builder session dialog with Target branch main, the model Haiku 5.5, and low effort. The Goal mode and Customize first message switches are off. At the bottom are Cancel, Run in background, and Start session.The Start Builder session dialog with Target branch main, the model Haiku 5.5, and low effort. The Goal mode and Customize first message switches are off. At the bottom are Cancel, Run in background, and Start session.
  1. On the task card in Backlog, select Start Builder.
  2. Check the Target branch, the branch that the change merges into, then select Start session.

OpenDucktor opens the session page of the Builder. The Builder works in a separate worktree, so your checkout stays the same. If it asks a question, answer it. When it finishes, the task moves to AI Review.

Review and merge
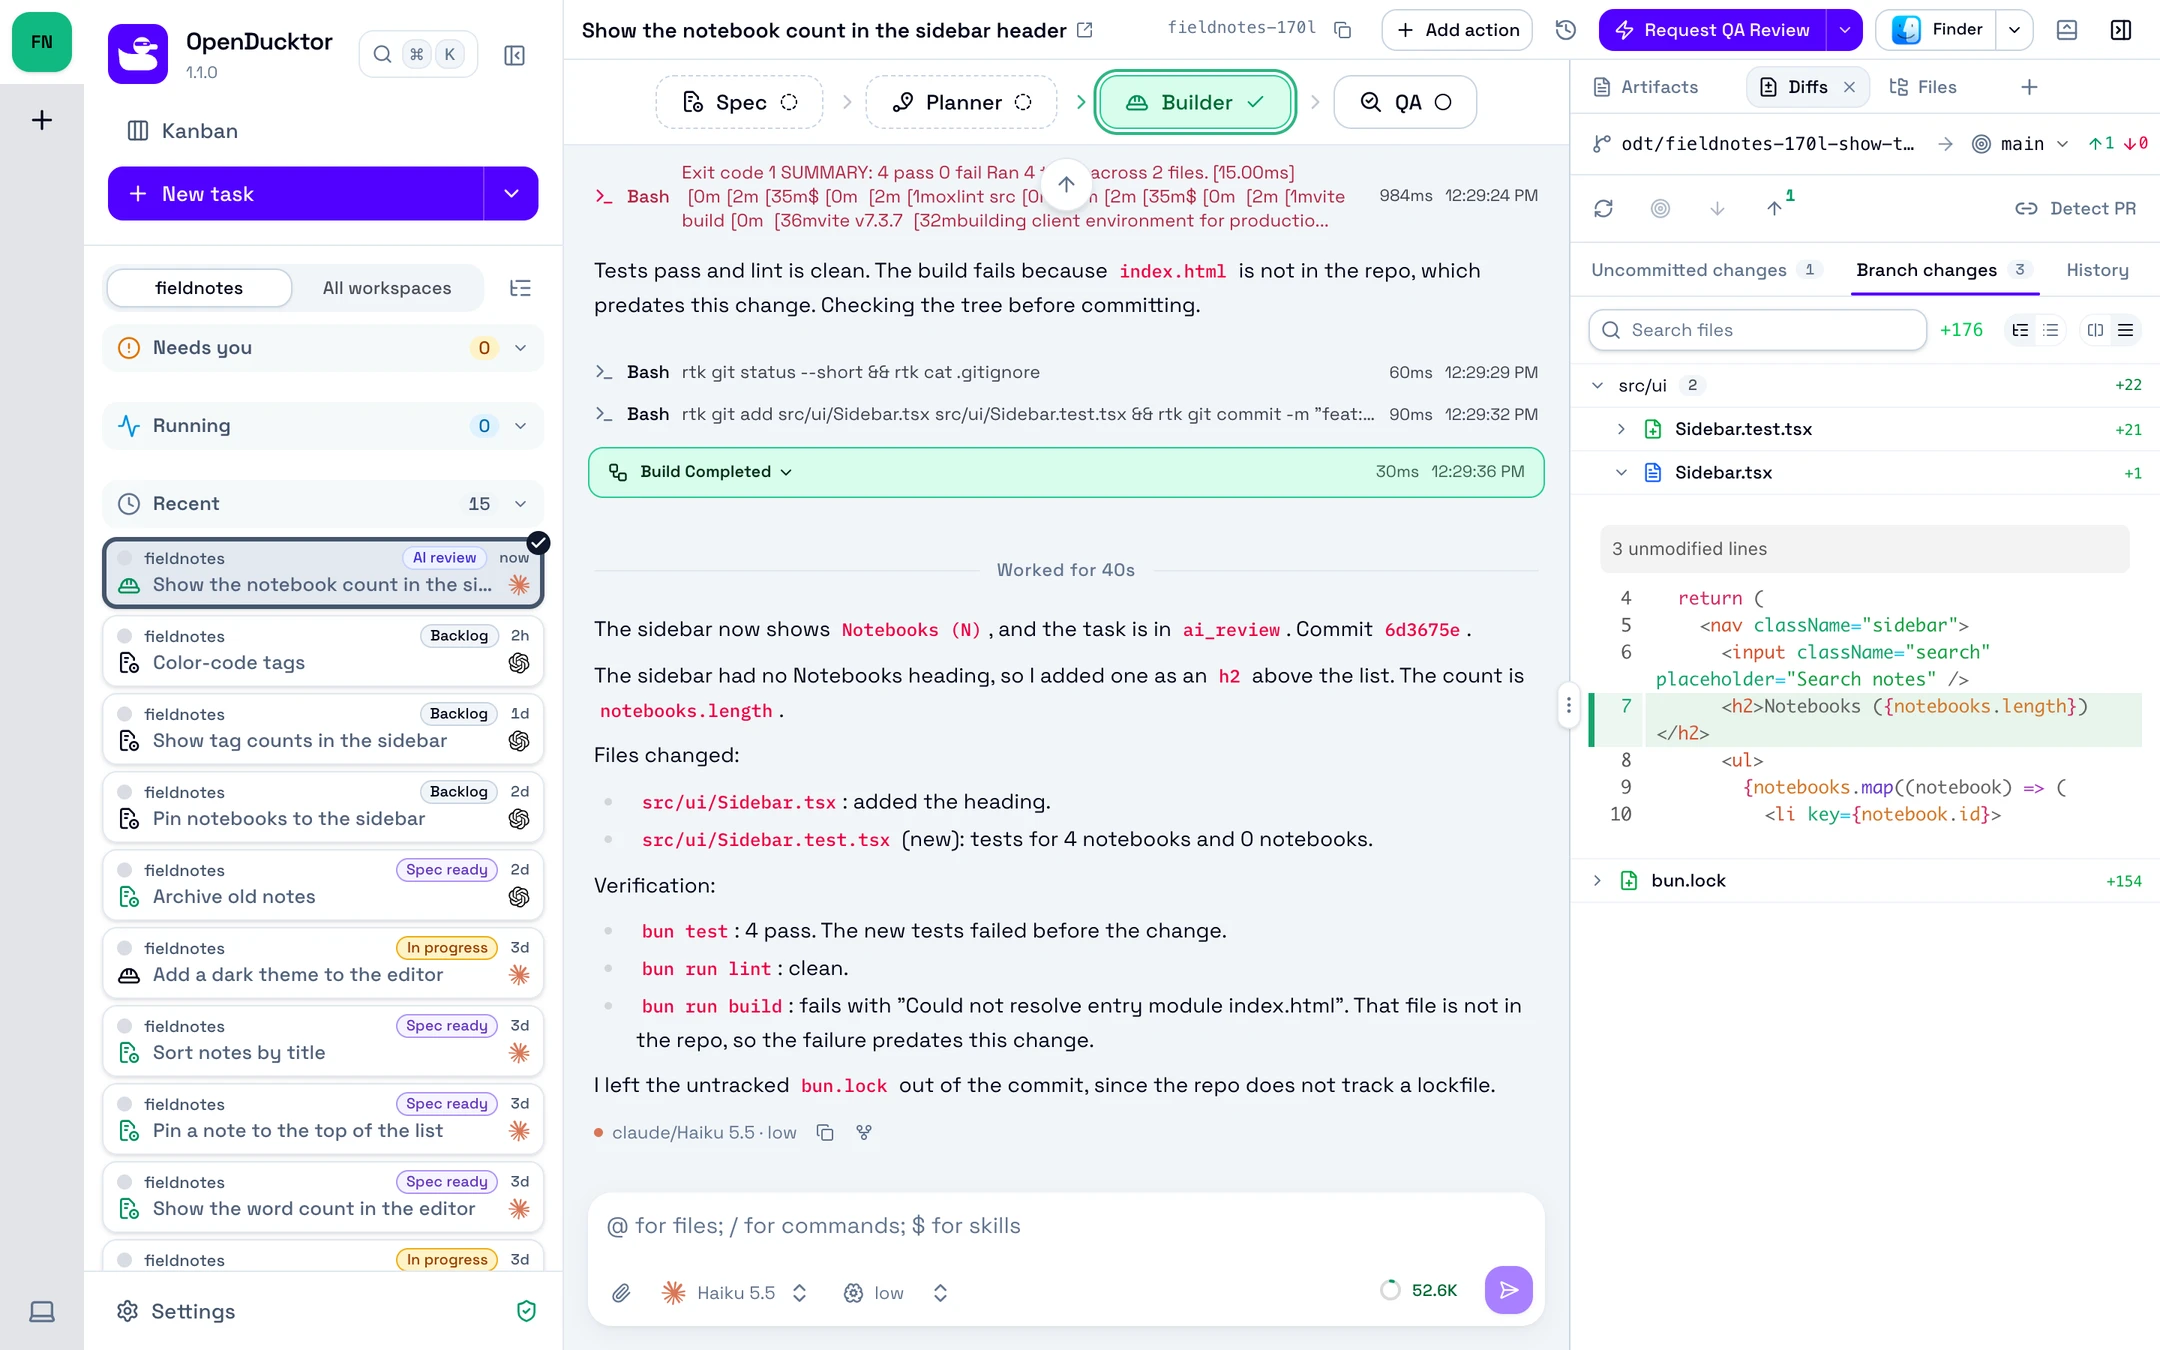
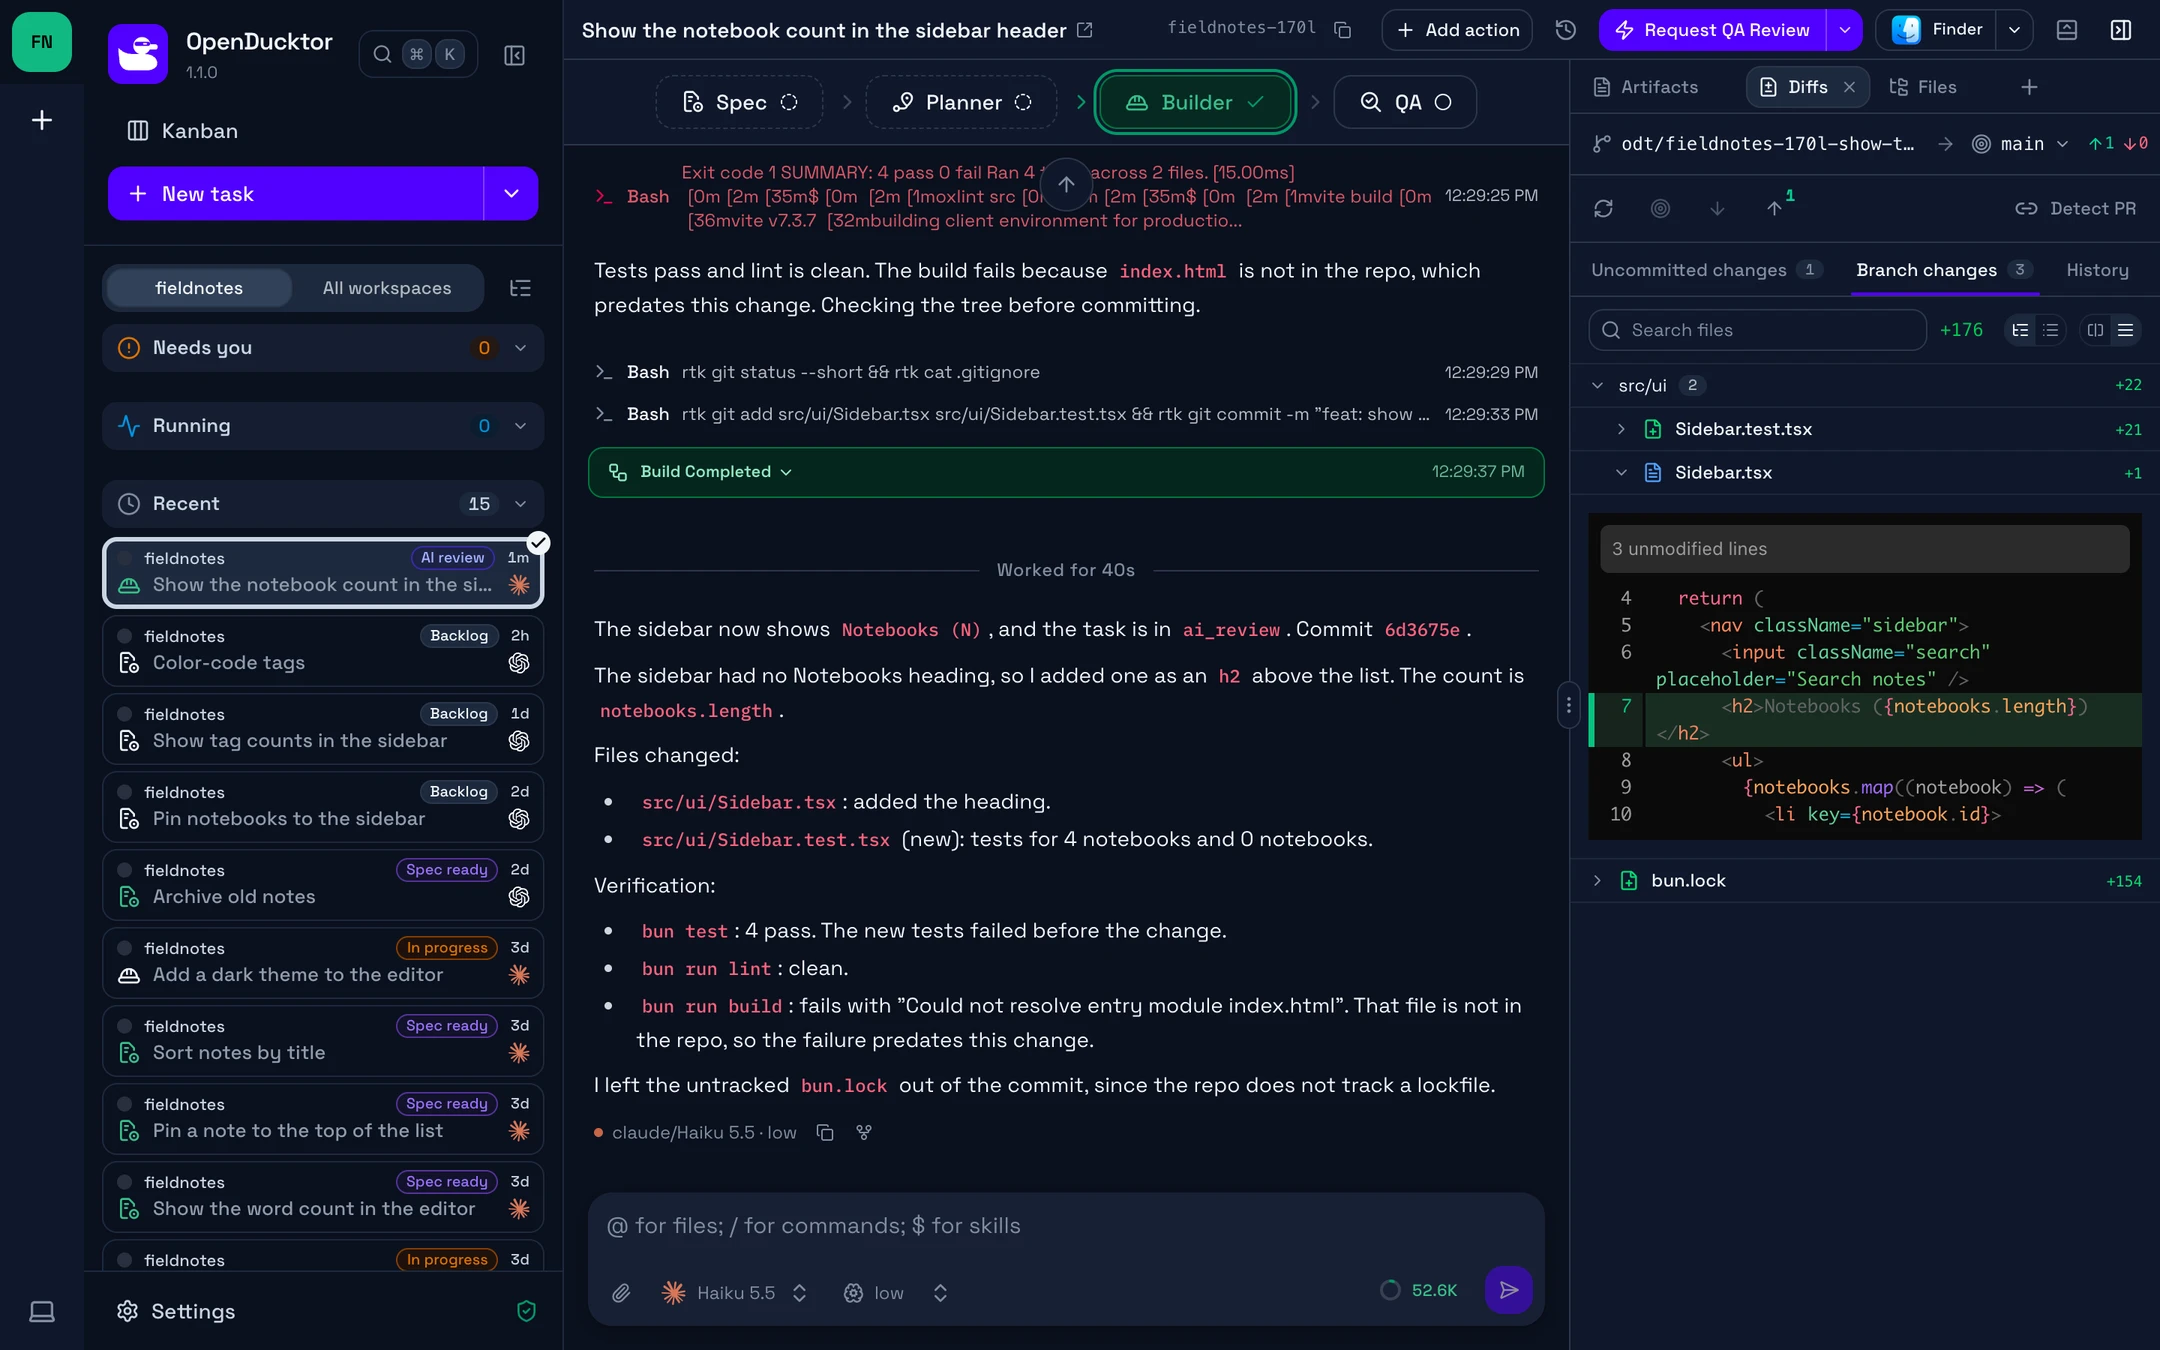
The Builder session of the task Show the notebook count in the sidebar header in AI Review. The transcript ends with the Build Completed card and the summary of the Builder. The Diffs tab shows Branch changes with the open diff of Sidebar.tsx, and Request QA Review is at the top right.The Builder session of the task Show the notebook count in the sidebar header in AI Review. The transcript ends with the Build Completed card and the summary of the Builder. The Diffs tab shows Branch changes with the open diff of Sidebar.tsx, and Request QA Review is at the top right.
  1. Open the Diffs tab and read the Branch changes.
  2. Optional: select Request QA Review, then Start session. When QA approves the change, the task moves to Human Review.
  3. At the top right, select Approve Task. If the main button shows another action, open the menu next to it, then select Approve Task.
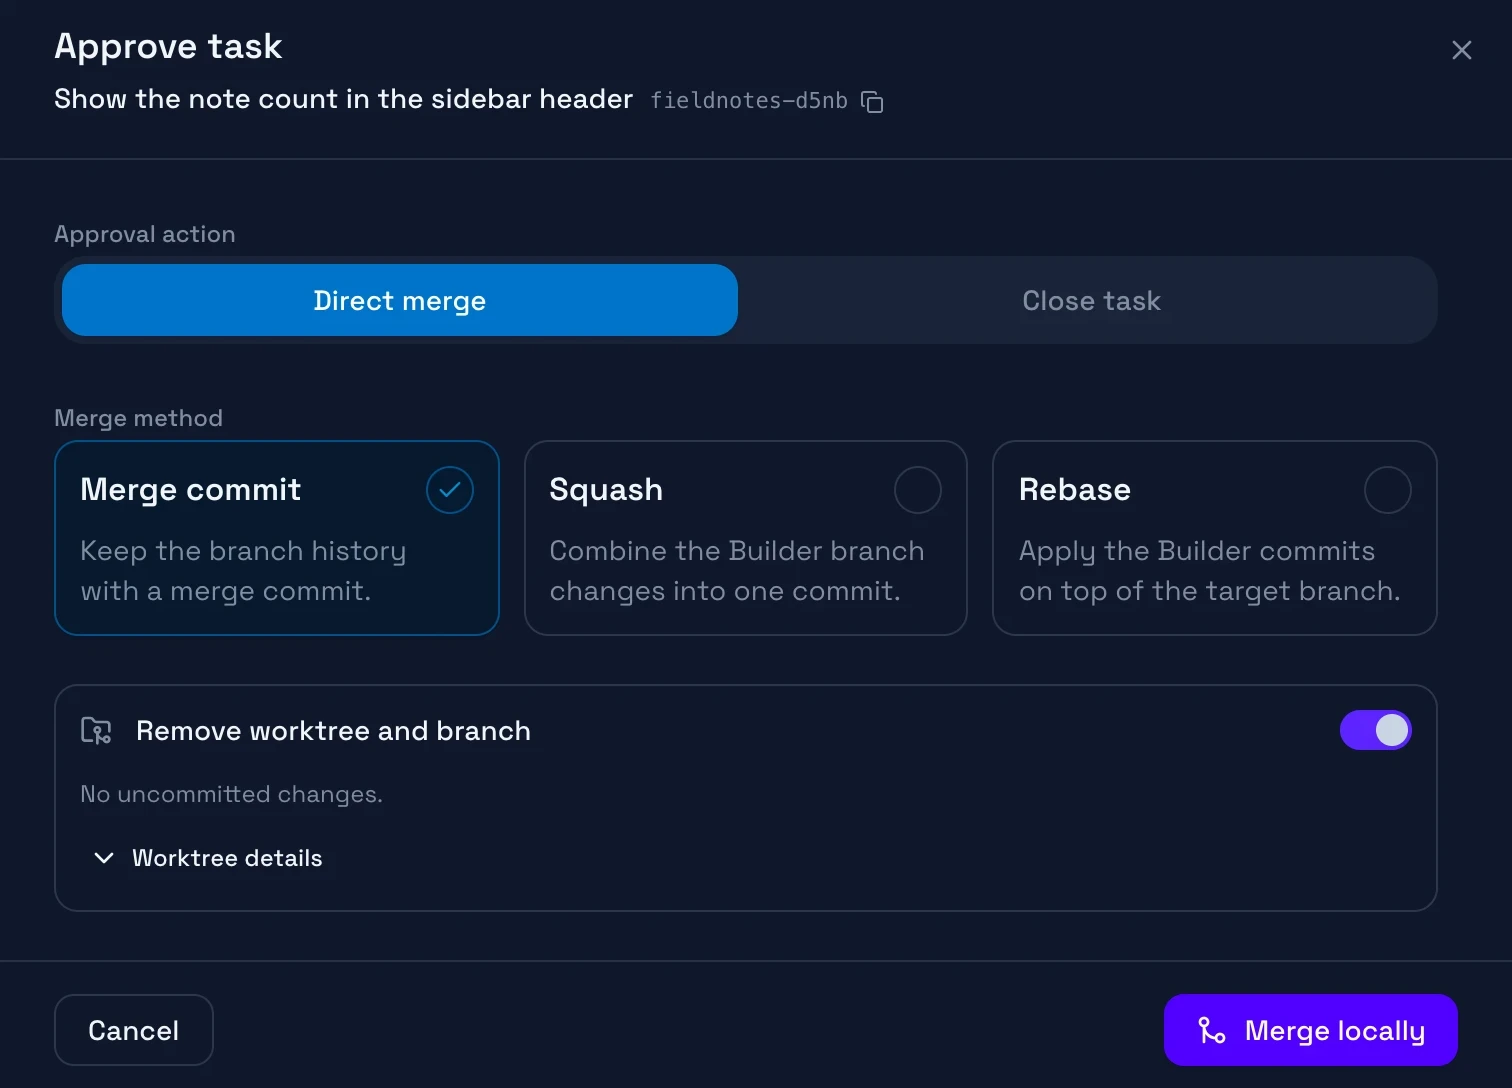
  4. Select Direct merge, then Merge locally.
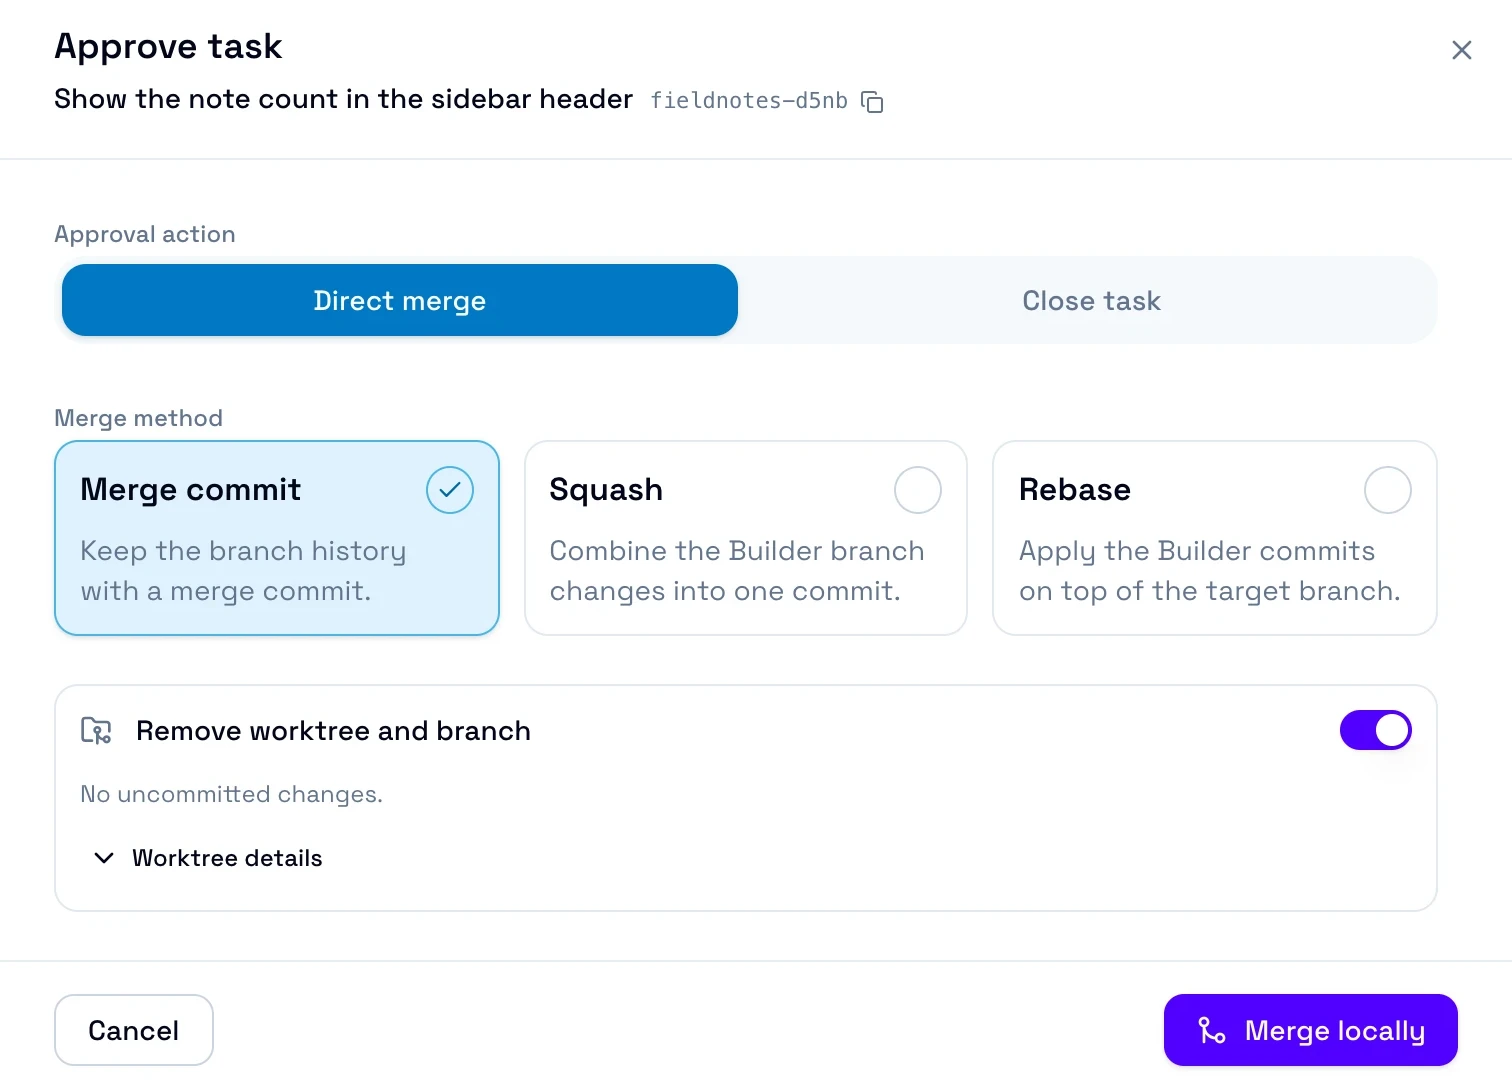
The Approve task dialog with Direct merge selected, the Merge commit, Squash, and Rebase methods, the Remove worktree and branch switch on, and Merge locally.The Approve task dialog with Direct merge selected, the Merge commit, Squash, and Rebase methods, the Remove worktree and branch switch on, and Merge locally.

If the target branch has no remote, the task moves to Done. If it has a remote, select Push main and mark done. The button shows the name of your target branch.

To open a pull request instead, or to handle uncommitted changes and conflicts, see Approve a task. If QA rejects the change, see Fix a QA rejection.

Next

On this page