Tasks
The Tasks tab shows the board of a workspace. Tap a card to open the task.
Read the board
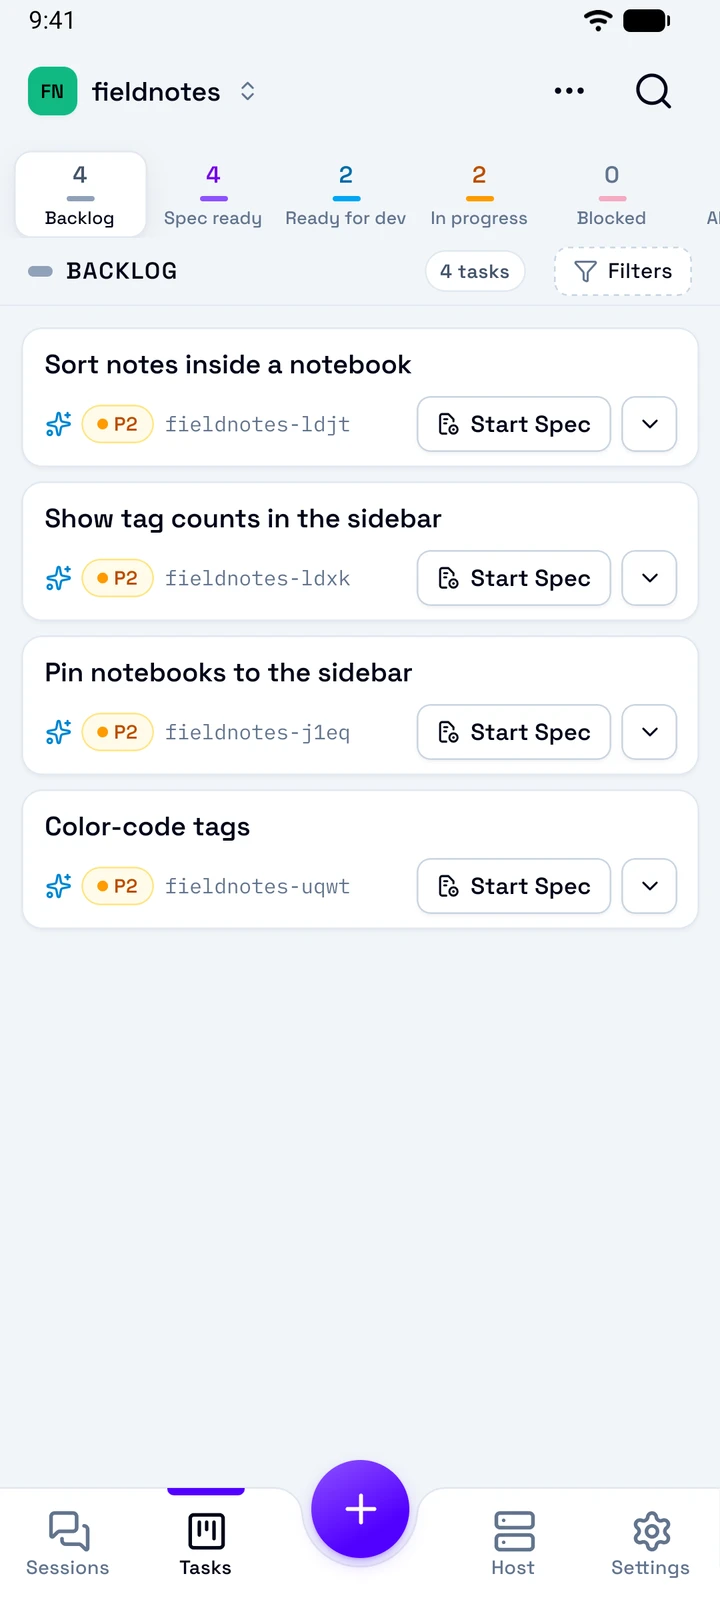
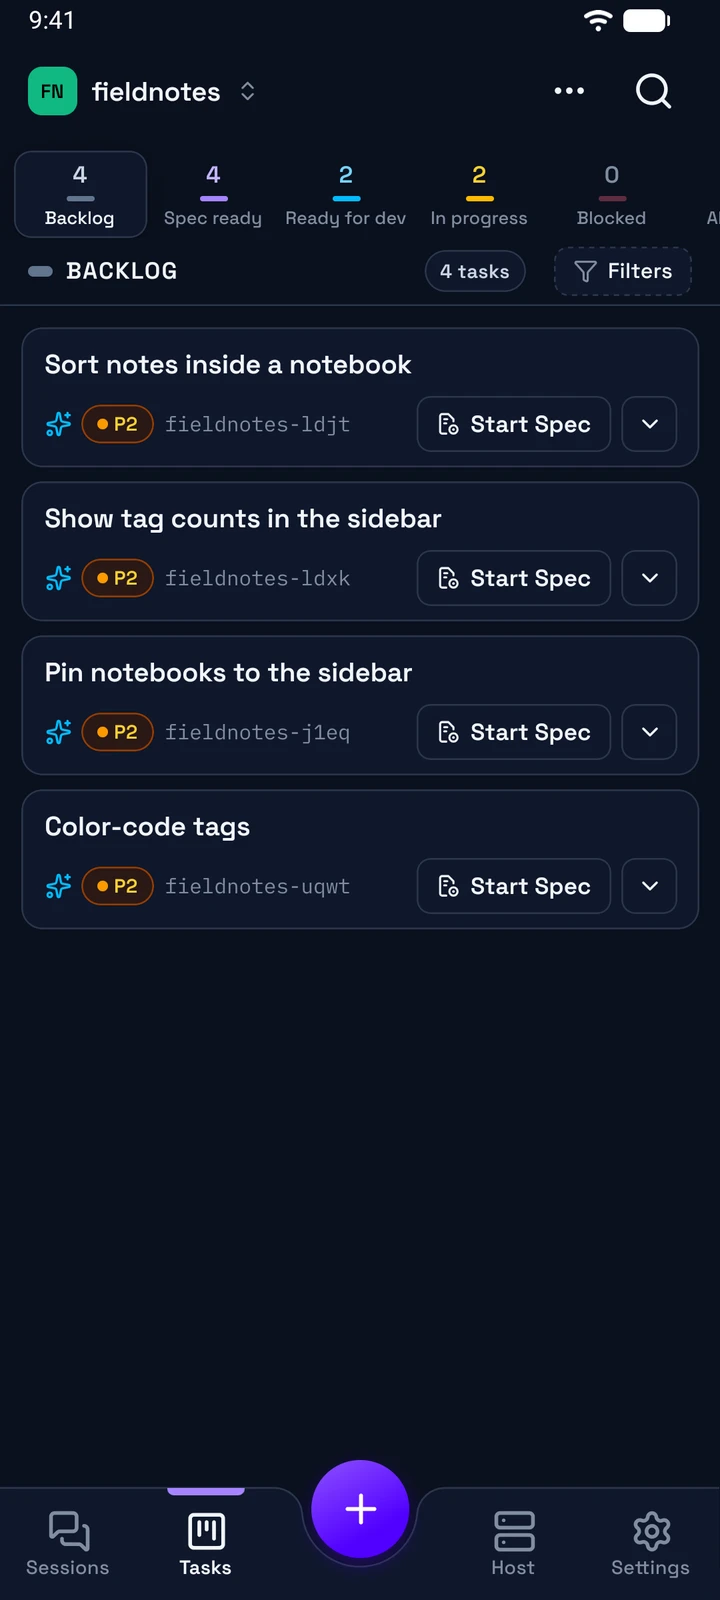
Workspace
Tap it to choose the workspace. The choice changes only this phone, and the Sessions tab uses it too.
More and Search
More holds Refresh Tasks and the import of issues. Search finds the cards whose title, ID, or labels contain each word.
Lanes
One lane shows at a time. Tap a lane, or swipe the board to the next one. Each lane shows its count.
Filters
Filter the cards by Labels, Type, and Priority. While a filter is on, a strip shows Clear.
A card
The title, the type, the priority, the ID, and the next step, such as Start Spec. The chevron holds the other actions.
A card turns blue while an agent works on the task, and amber while it waits for you. In landscape, a lane shows in two columns. On a tablet, the lanes show side by side.
Create a task
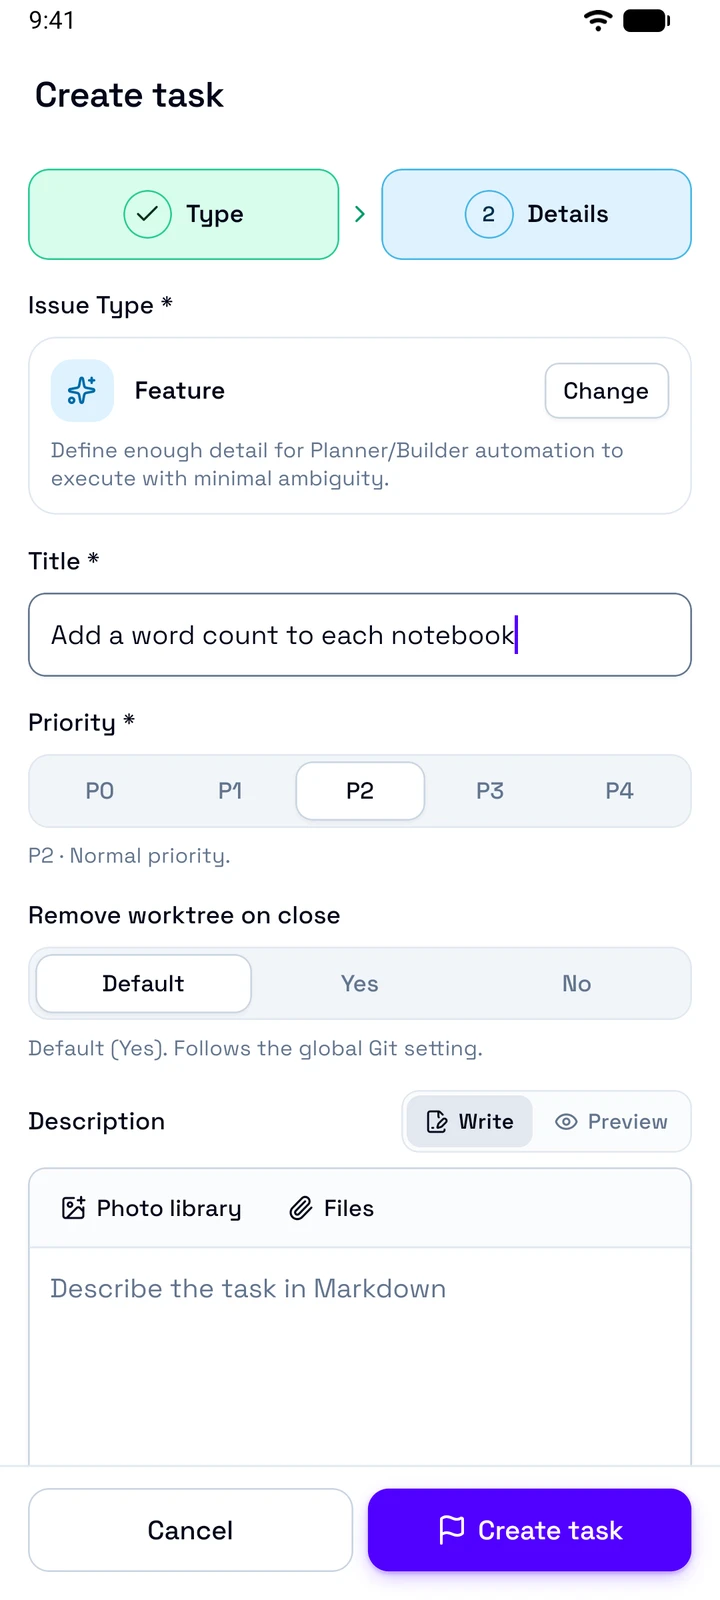
- Tap + in the tab bar, then New Task.
- Choose the type: Feature, Bug, or Task.
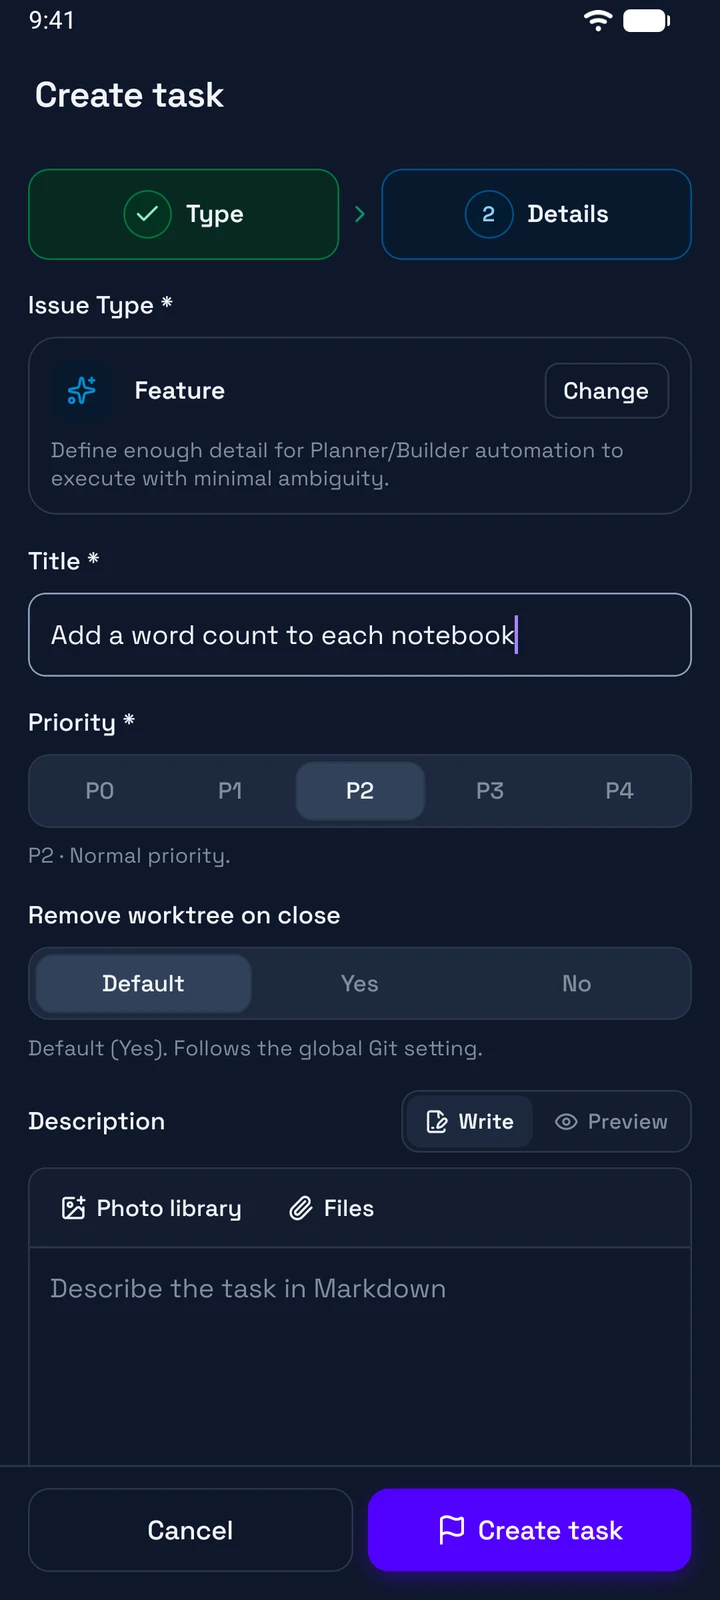
- Type the Title. Set the Priority, the Labels, and Remove worktree on close.
- Write the Description in Markdown. To add a picture, use Photo library or Files.
- Tap Create task. The task shows in Backlog.
To import the issues of your Git provider, tap +, then Import. Select the issues, tap Review, set the type, the priority, and the labels of each, then tap Import. You set up the Git provider on the desktop. See Git and pull requests.
Read a task
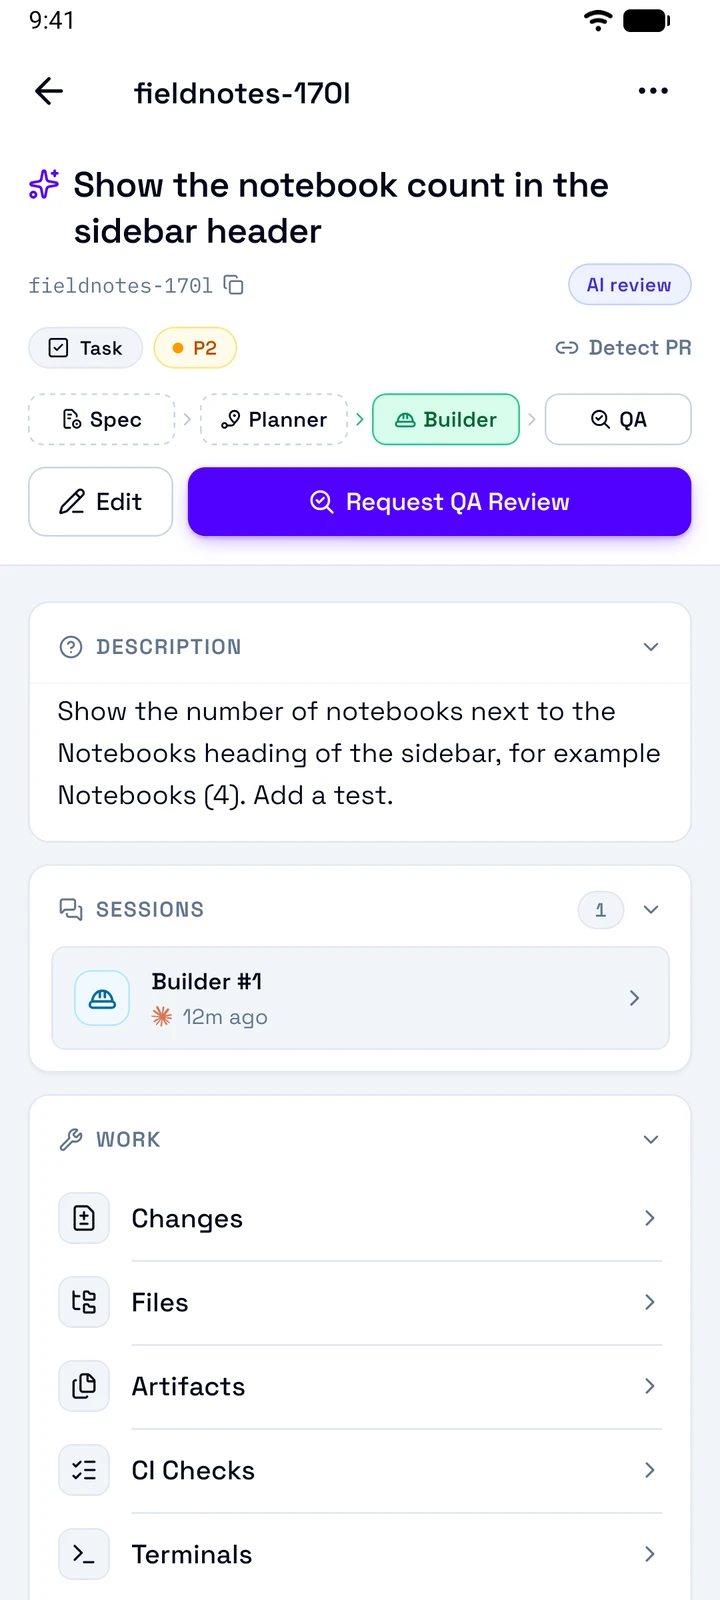
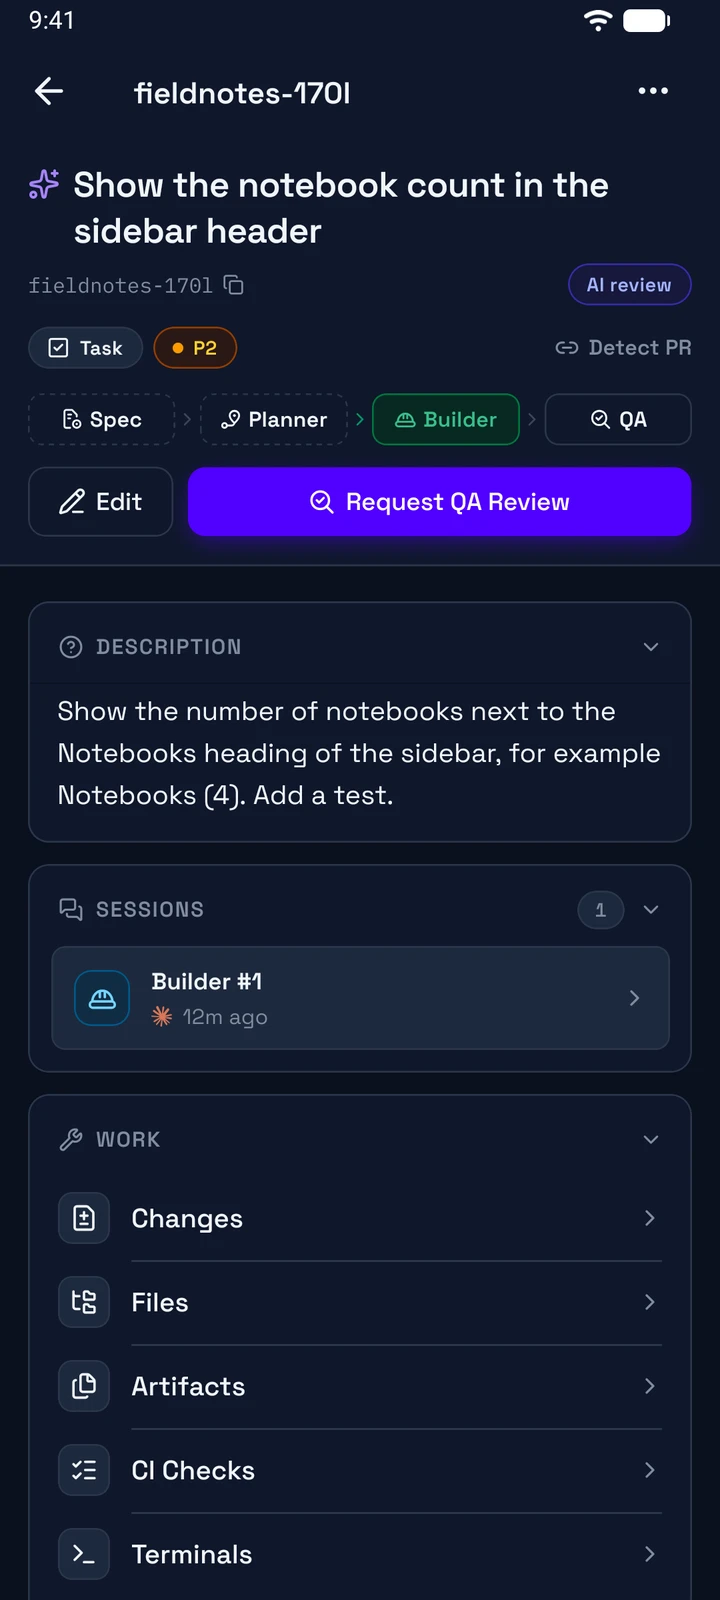
More actions
The other steps, and Reset Task, Close Task, Remove Worktree, Unlink PR, and Delete Task.
Summary
The title, the ID, the status, the type, and the priority. Detect PR links the pull request of the branch.
Workflow steps
Spec, Planner, Builder, and QA, with the current step.
Actions
Edit changes the task fields, the Spec, and the Plan. The main button starts the next step.
Sessions
The sessions of the task and their status. Tap one to open it.
Work
Changes, Files, Artifacts, CI Checks, and Terminals. See Review work.
The actions work as on the desktop. See Tasks and workflows.
Start a step
Tap the next step on a card, in the task details, or in Quick actions of a session. The start sheet of the role opens, such as Start Builder session:
- Session mode, when the step can continue a session: Start fresh, Reuse existing, or Fork existing.
- Existing session, for Reuse existing and Fork existing.
- Target branch, Runtime and model, Effort, and Speed.
- Customize first message lets you change the message that starts the agent.
- Goal mode, for the Builder: the agent gets a Goal instead of a first message, and works until it is met. Generate goal writes the goal for you. See Work toward a goal.
Tap Start session to start and open the session. Run in background starts it and keeps you where you are. When the host takes long to prepare the session, a card shows the progress, with View progress and Open session. If the preparation fails, tap Retry preparation or Edit choices.
Approve or send back the work
When a task is in Human Review, open Quick actions in its session, or use the main action of the task details.
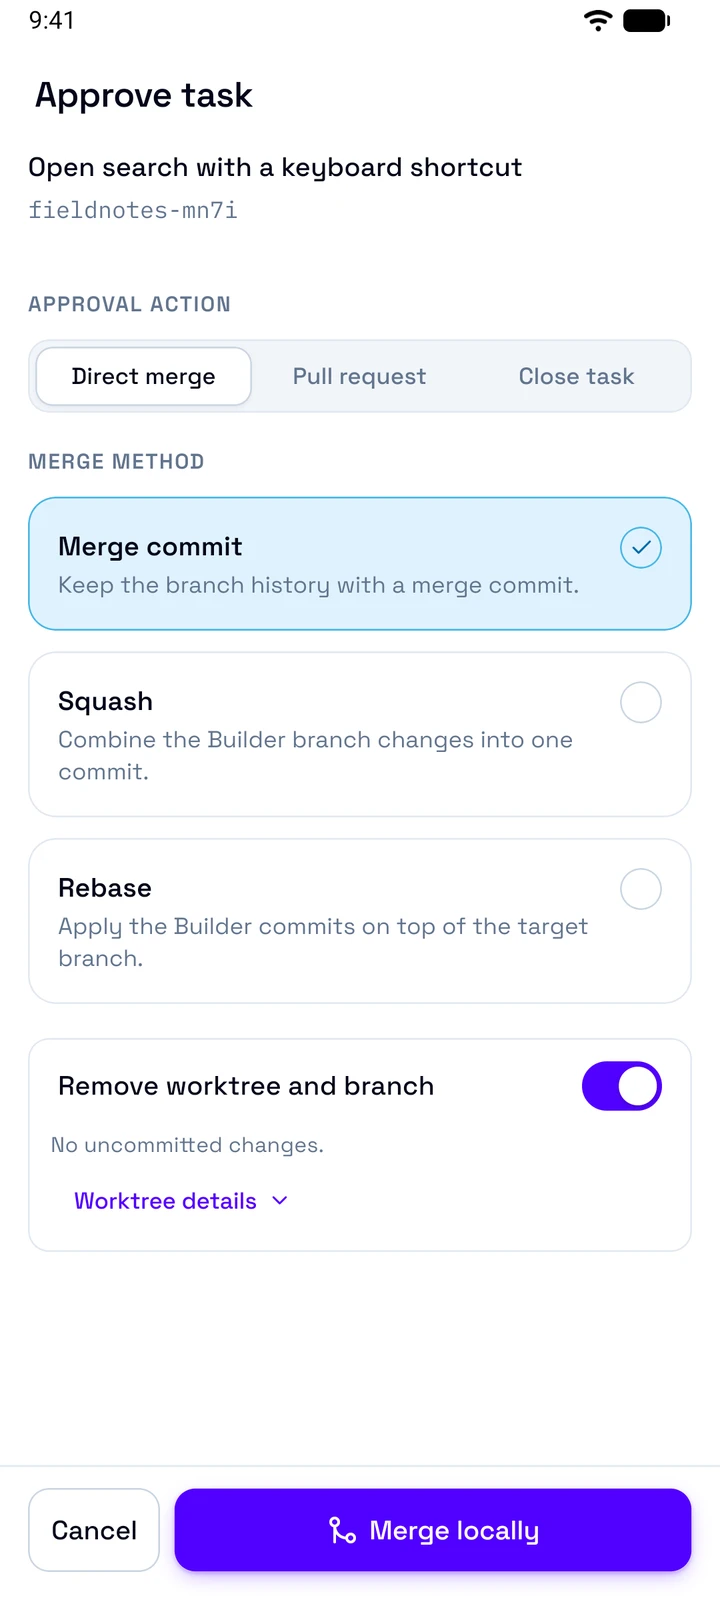
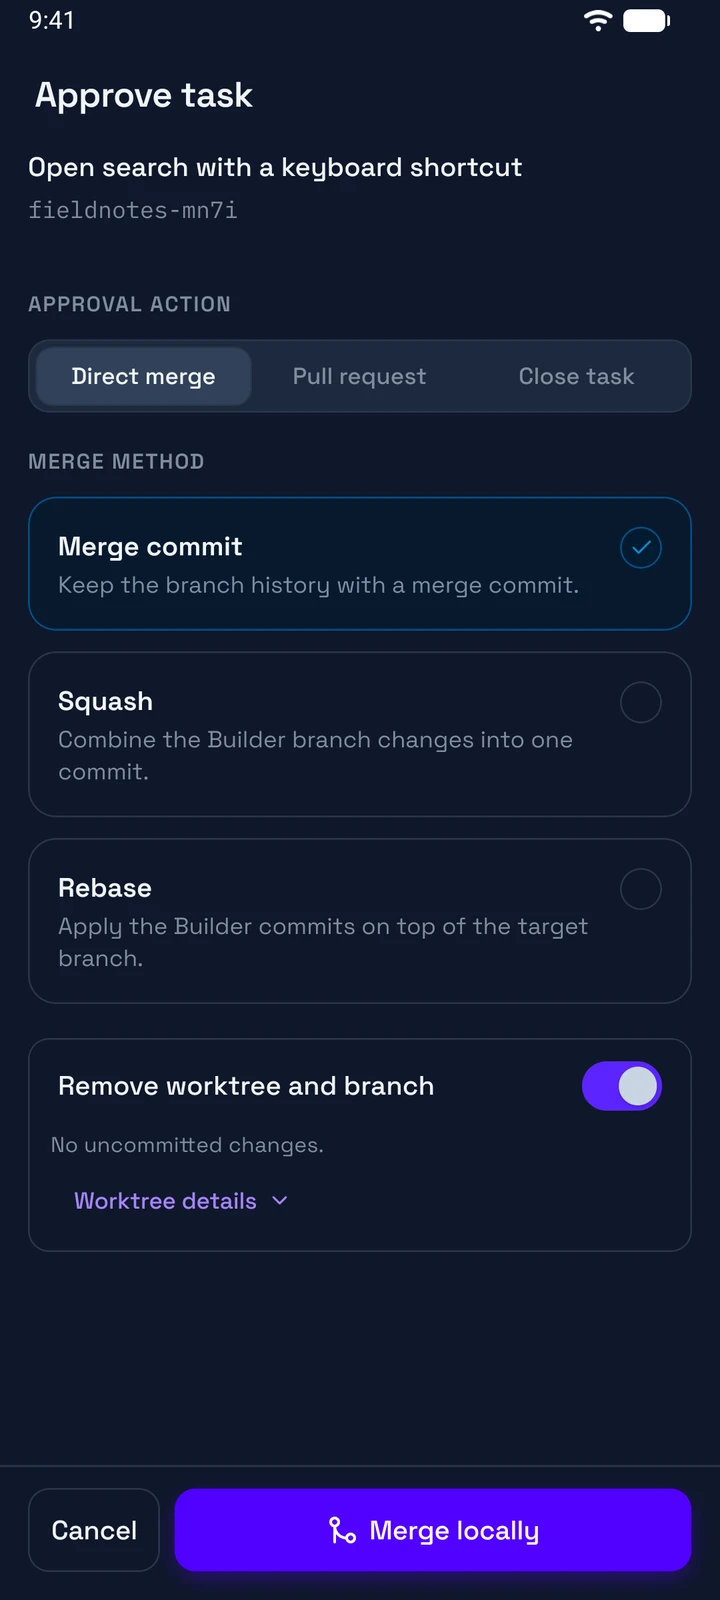
Approve Task opens Approve task:
- Direct merge: choose Merge commit, Squash, or Rebase, then tap Merge locally. Then tap Push main and mark done, with the name of your target branch. Without a remote, it is Mark task done. Finish later keeps the merge on the host until you push.
- Pull request: choose Write manually or Ask Builder.
- Close task: closes the task and merges no code.
Remove worktree and branch decides the cleanup. See Approve a task.
Request Changes opens Request changes. Write Your feedback and tap Request changes. Then continue a Builder session or start a new one.